Customize Header Image
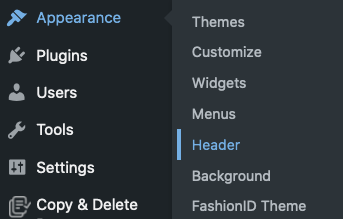
Go to “Dashboard” → “Appearance” → “Header”.
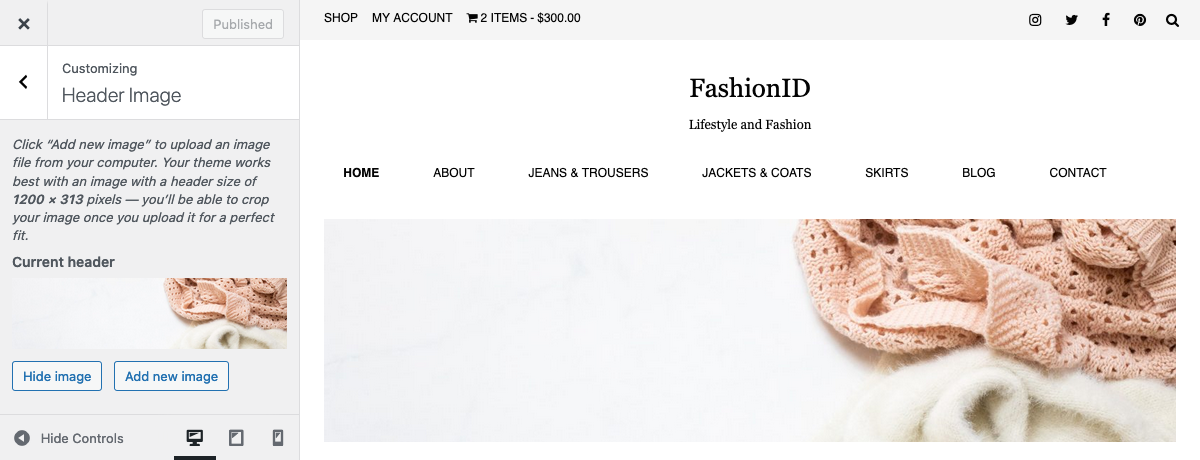
Go to “Dashboard” → “Appearance” → “Customize” → “Header Image”.
Go to “Dashboard” → “Appearance” → “Header”.
Go to “Dashboard” → “Appearance” → “Customize” → “Header Image”.
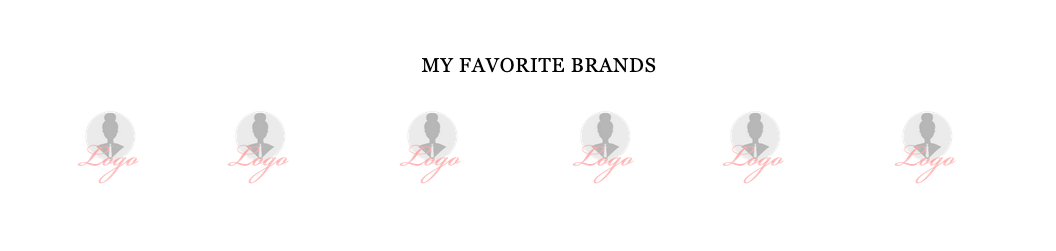
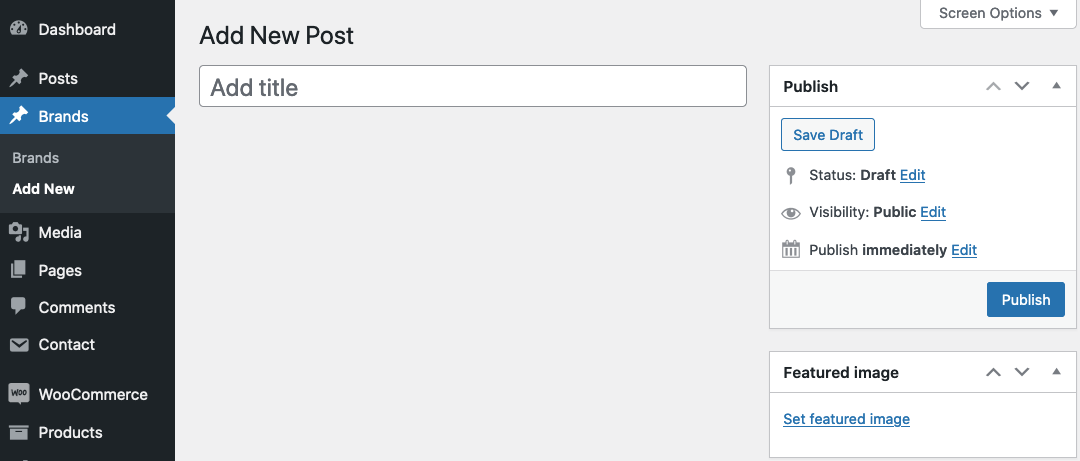
Once you publish your post, go to “Dashboard” → “Widgets” → “FashionID: Featured Logos” and and select the sidebar(Flexible Widget Area 1 to 3) you want to place it.
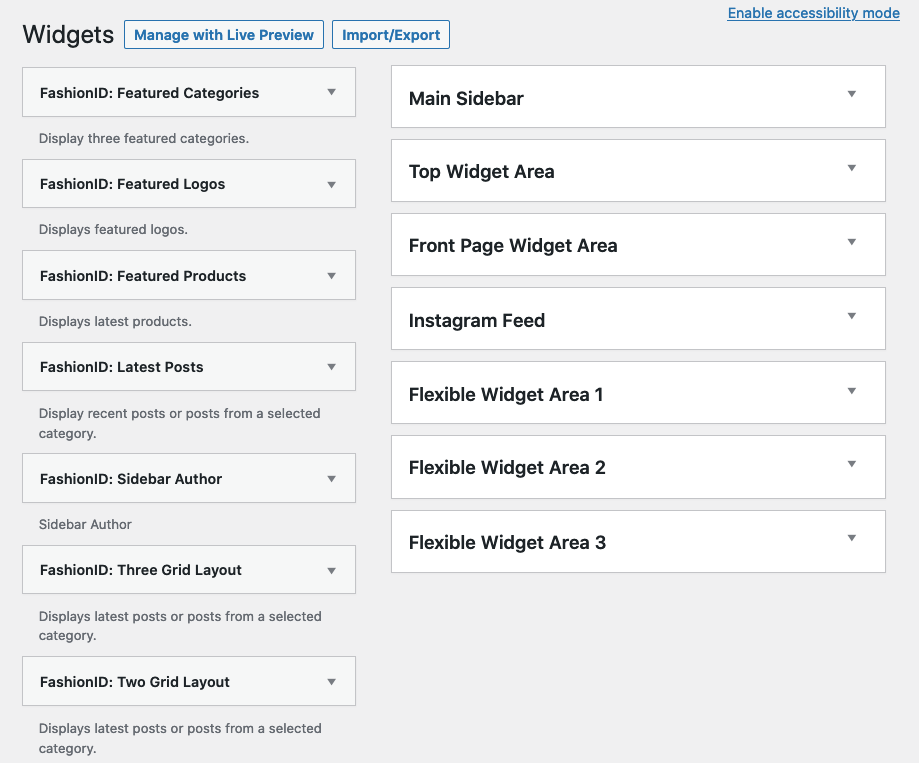
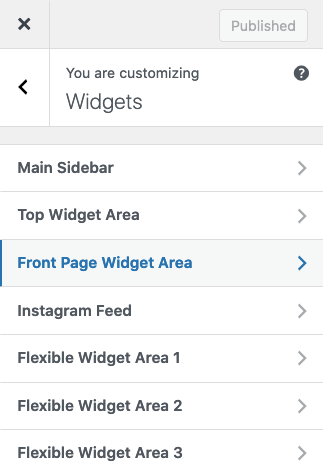
FashionID comes with the following sidebars and widgets:
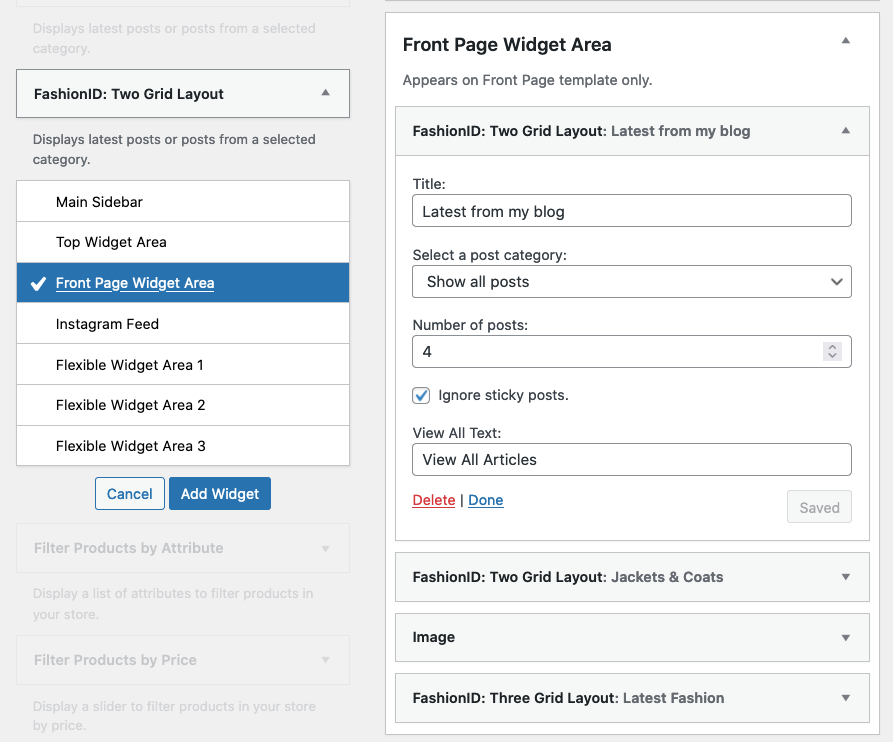
Go to “Dashboard” → “Appearance” → “Widgets”.
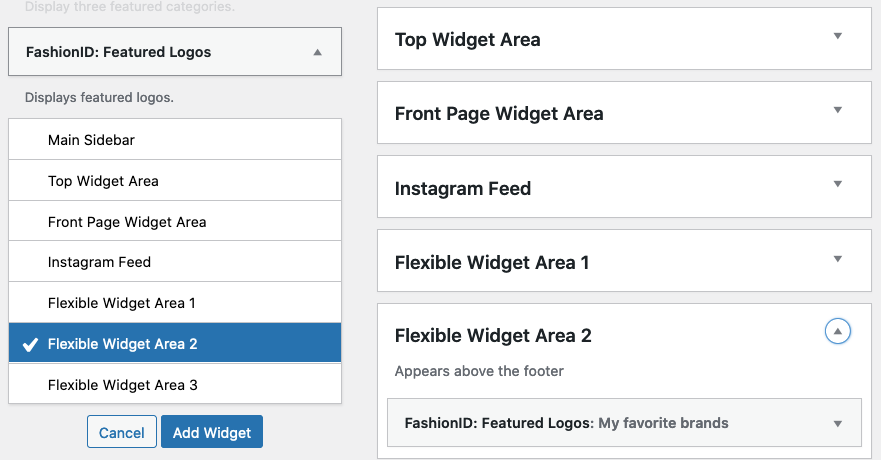
Click on a widget and select the sidebar you want to place it. You can also click on the widget and drag it to the sidebar.
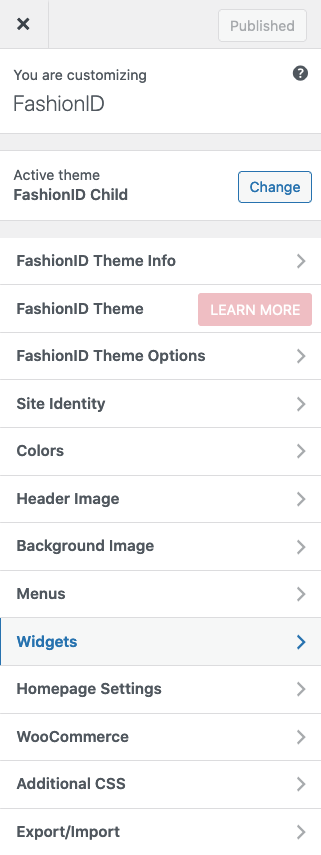
Another option for adding a widget to your sidebar is by clicking on “Dashboard” → “Appearance” → “Customize”.
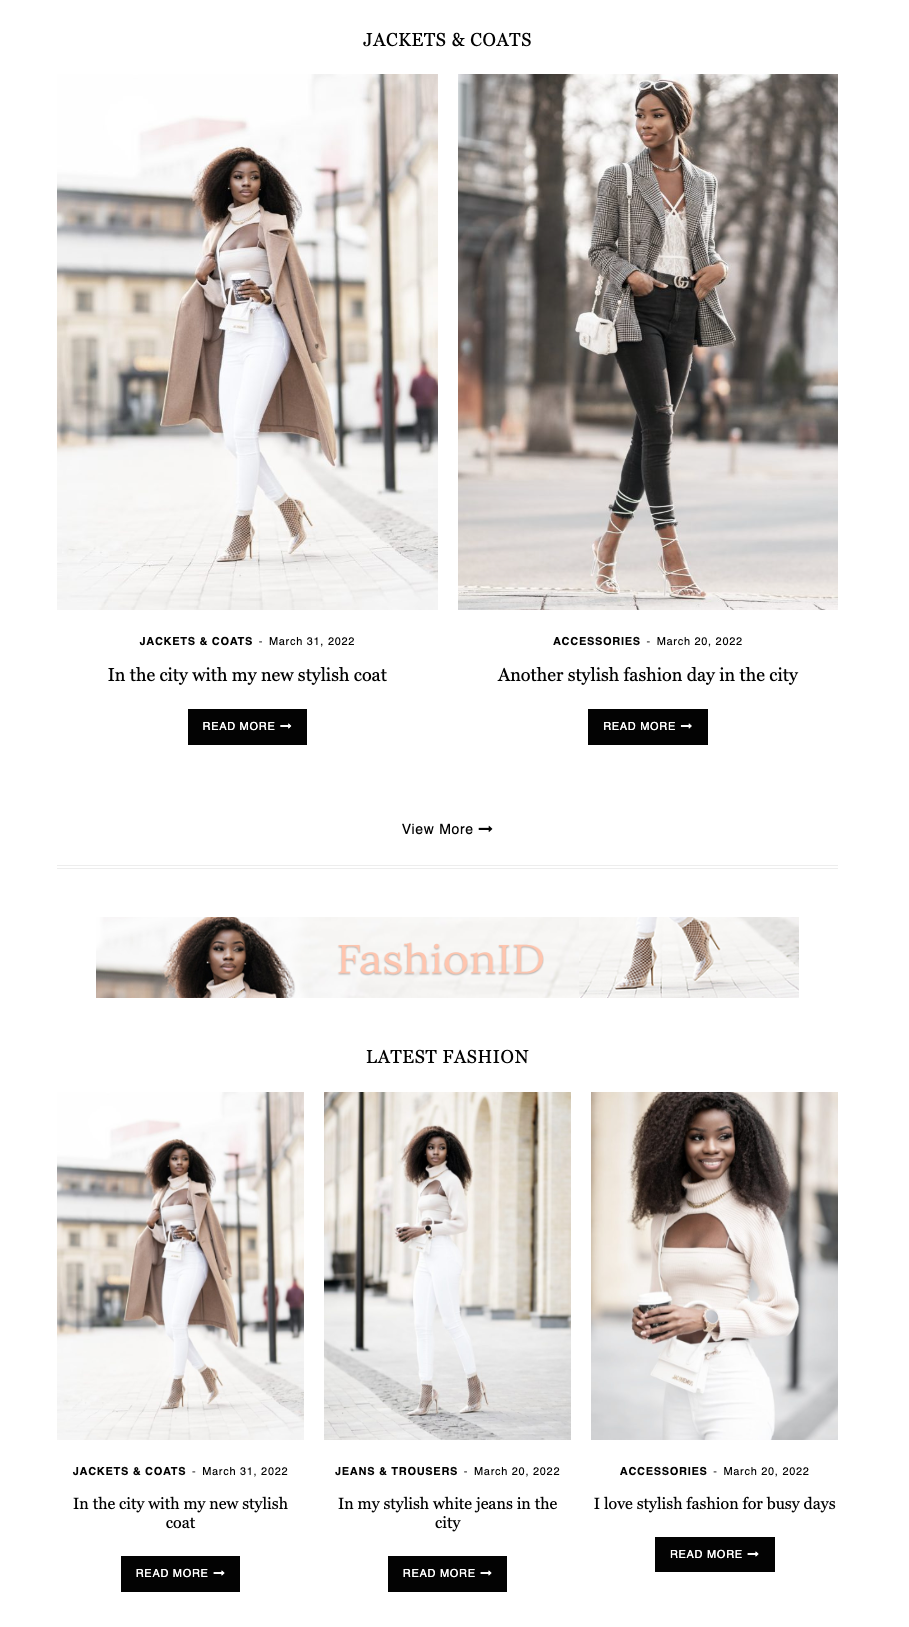
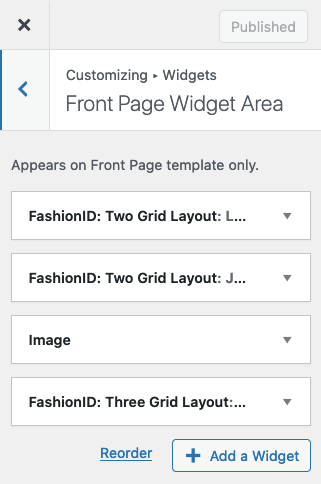
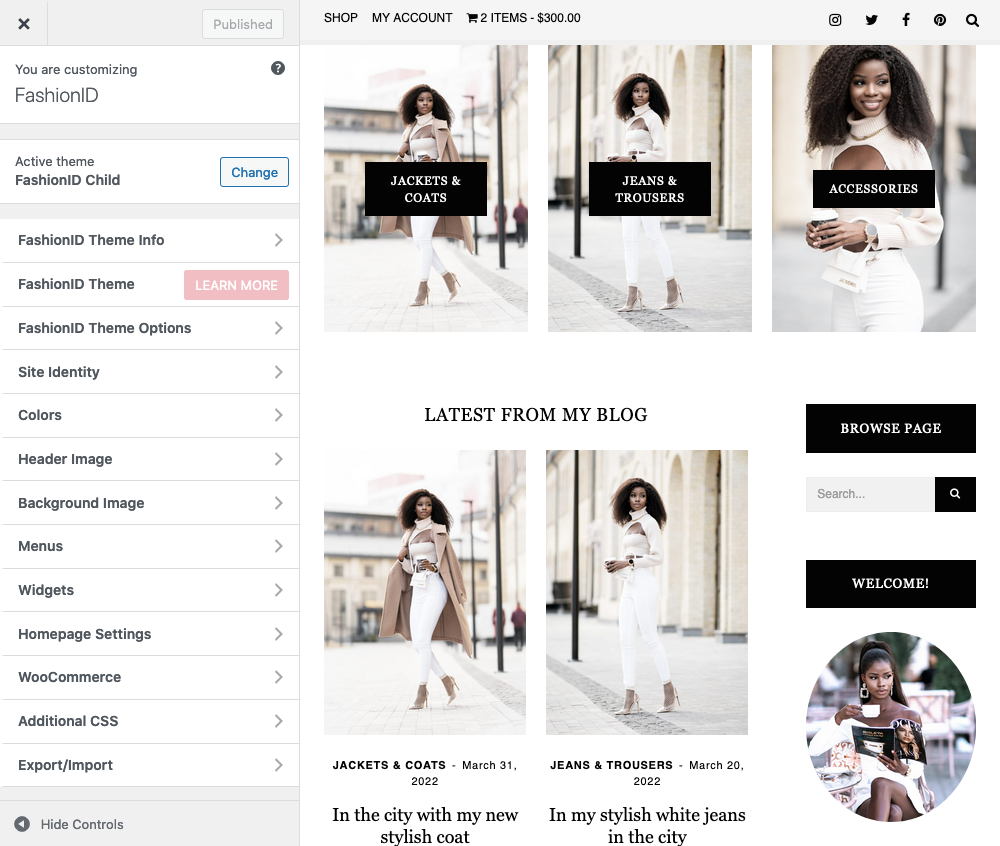
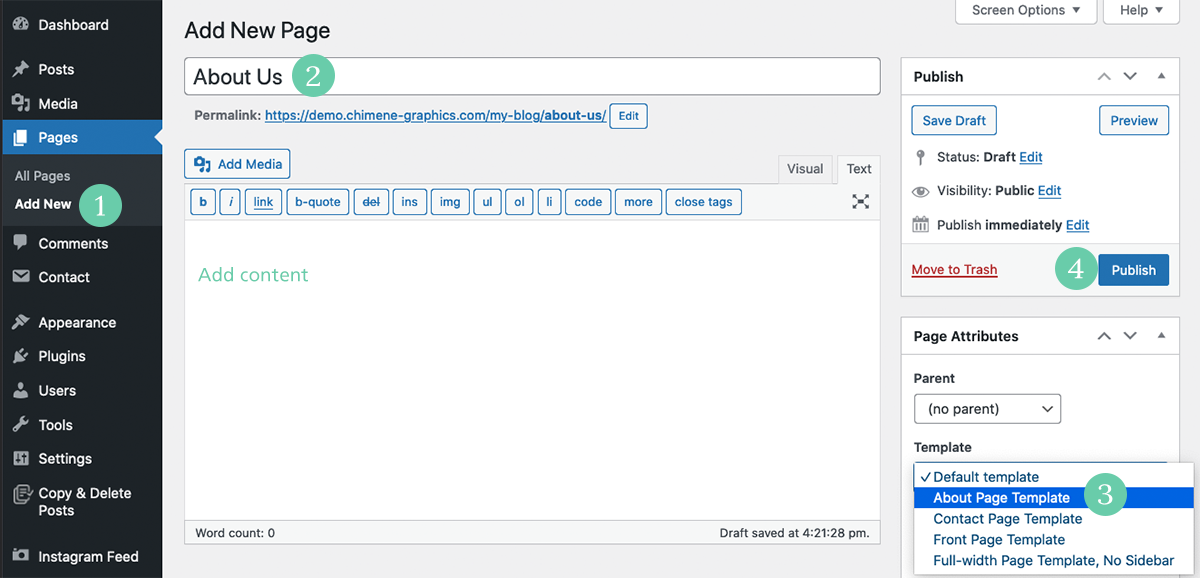
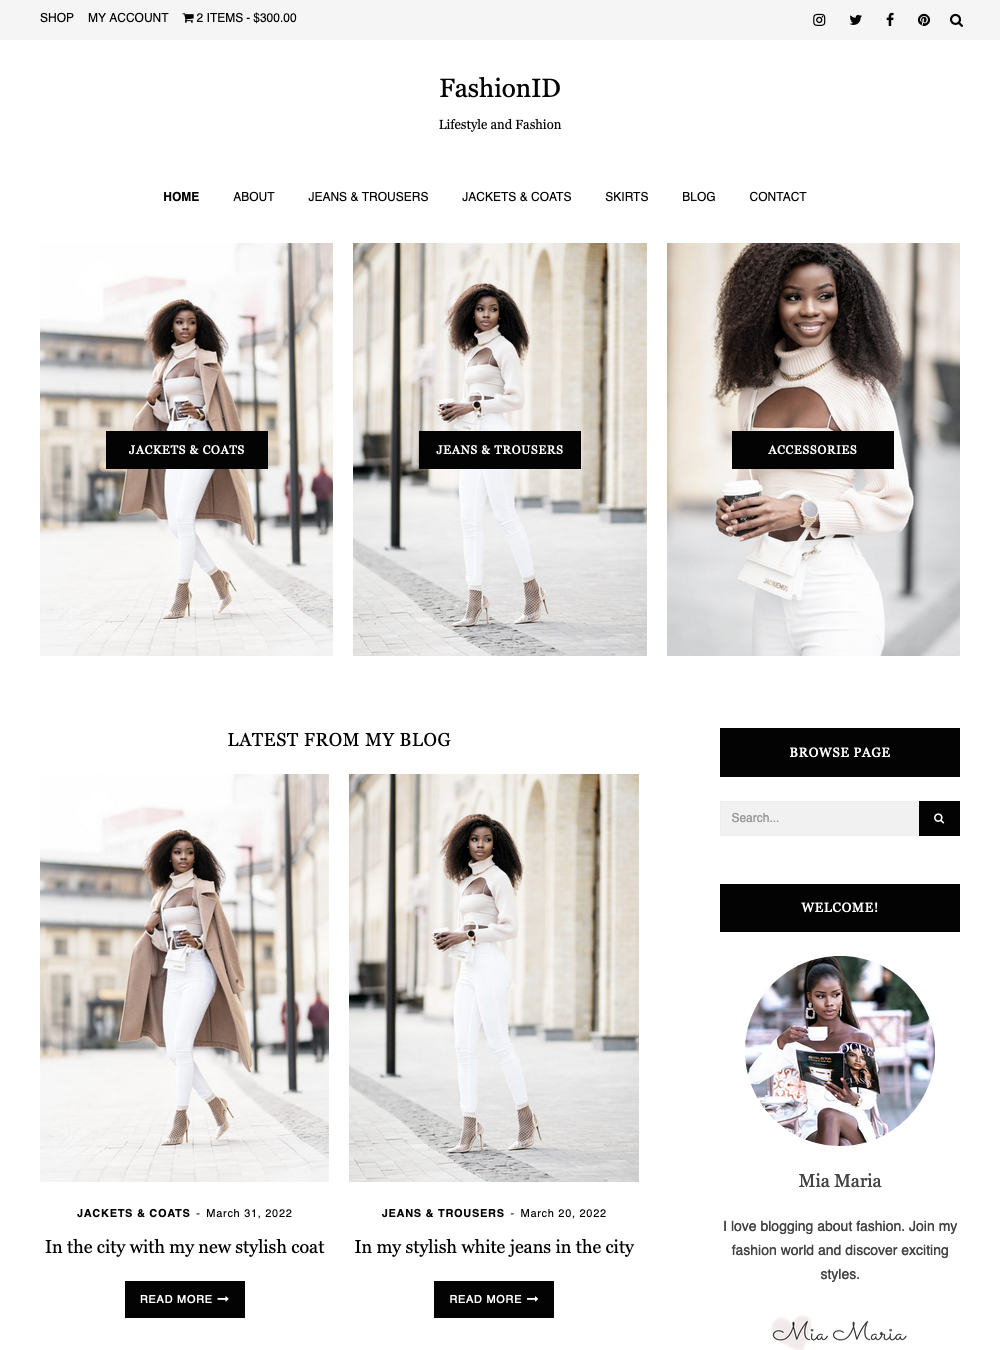
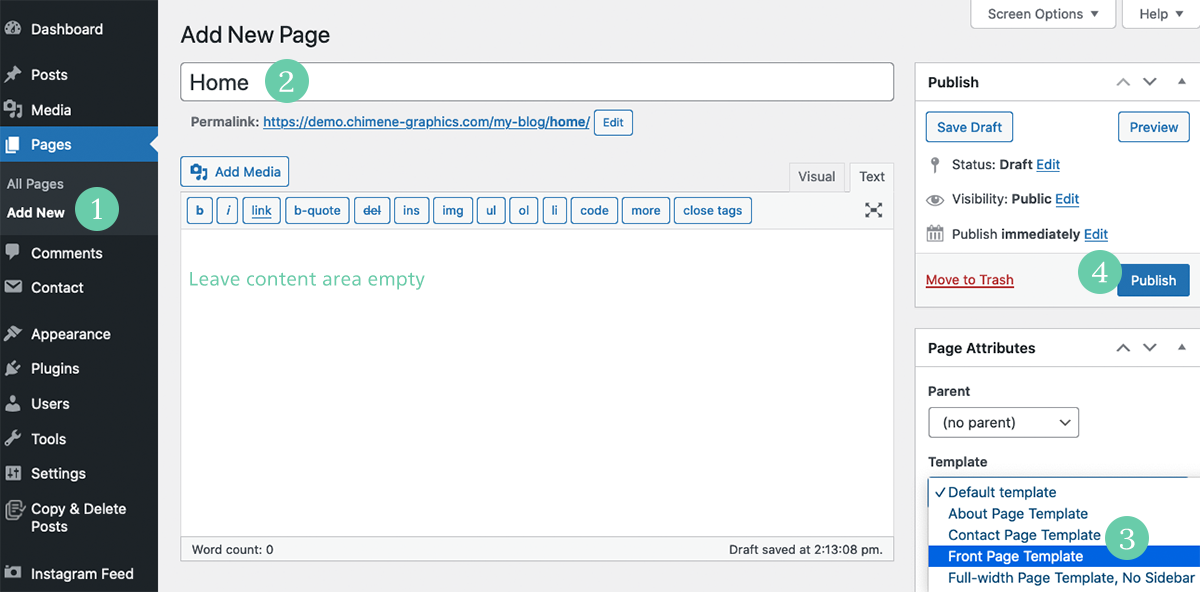
The “Front Page Widget Area” sidebar appears on the front page. Create a “Home” page and select Front Page Template on the Page Attributes meta box. Then, add widgets to the “Front Page Widget Area”.
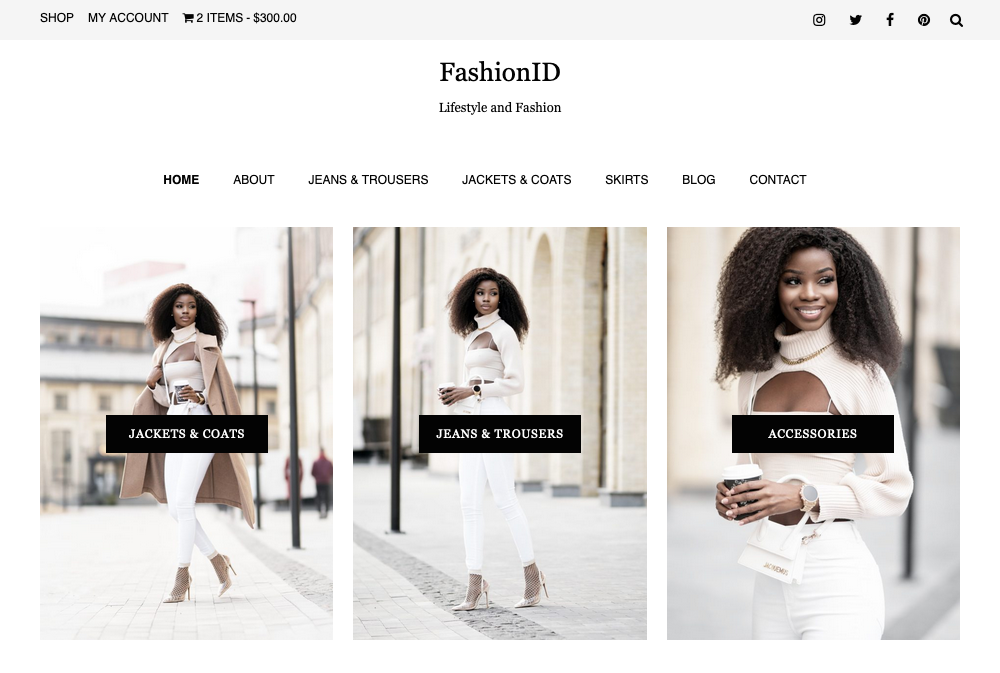
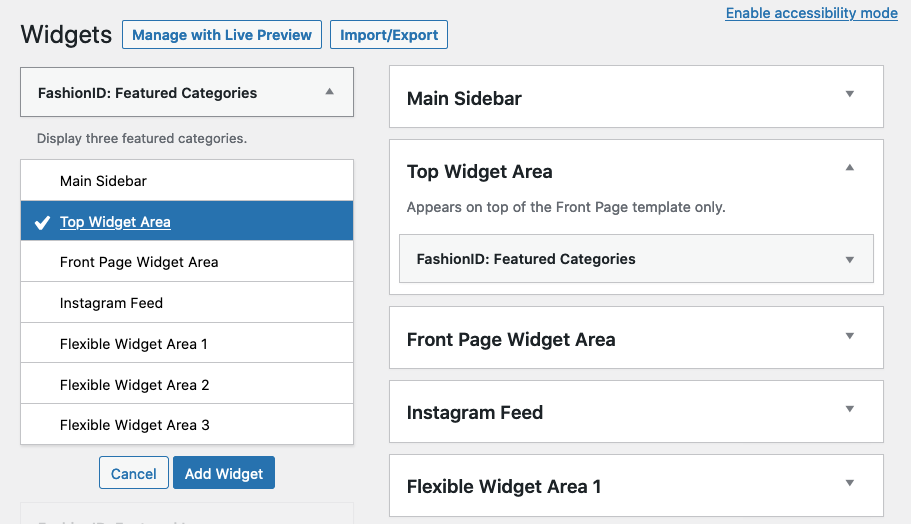
Add “FashionID: Featured Categories” to the “Top Widget Area” sidebar.
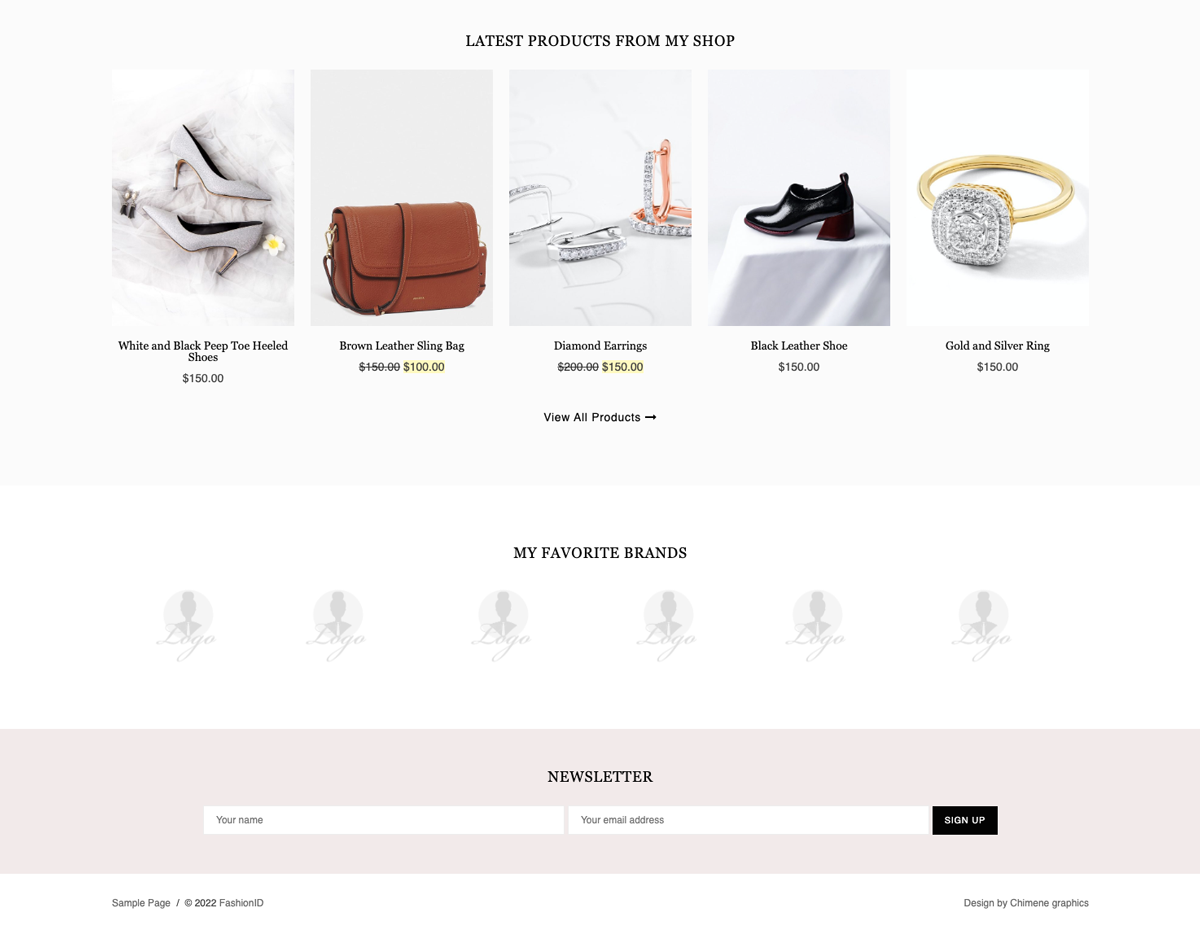
Add “FashionID: Featured Products”, “FashionID: Featured Logos”, MailChimp Newsletter etc. to this sidebar.
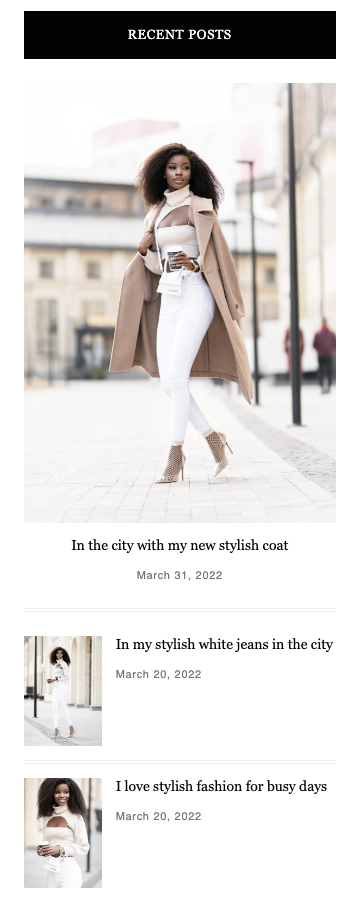
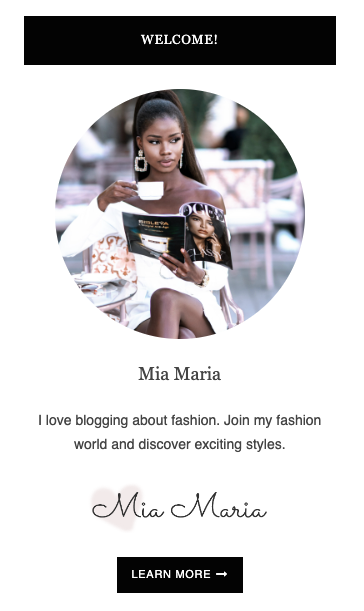
Add “Latest Posts”, “Sidebar Author”, MailChimp Newsletter, Categories, Archives etc. to the Main Sidebar.
Install the Smash Balloon plugin to use this feature.
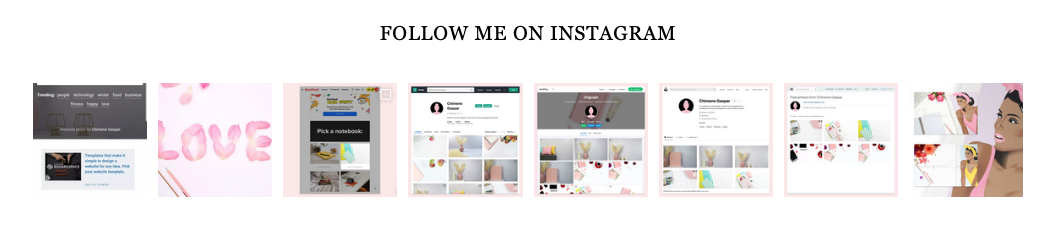
Add “Instagram Feed” widget to the Instagram Feed sidebar.
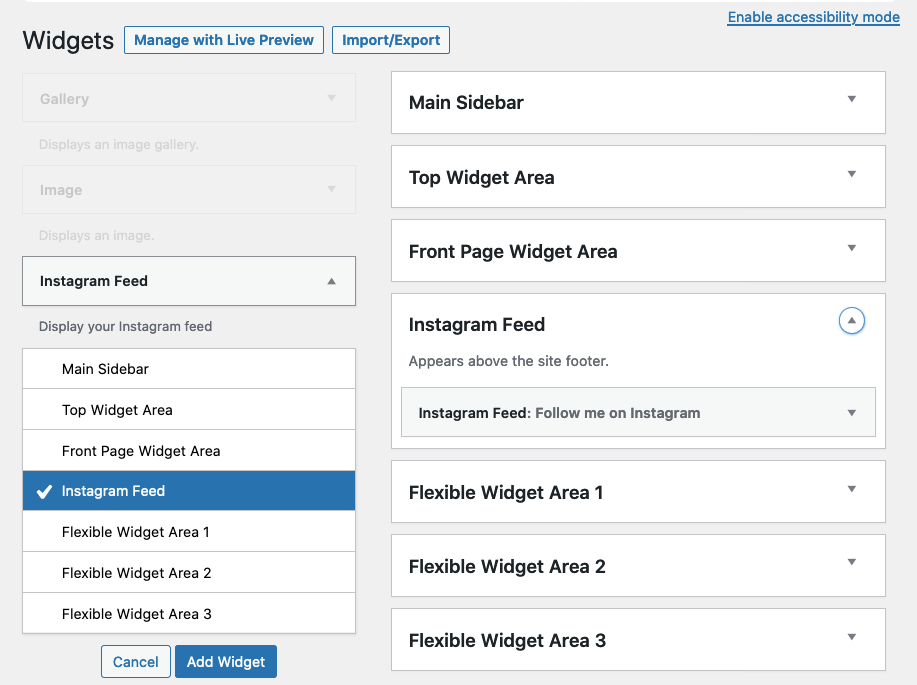
Go to “Dashboard” → “Appearance” → “Customize” → “Widgets”.
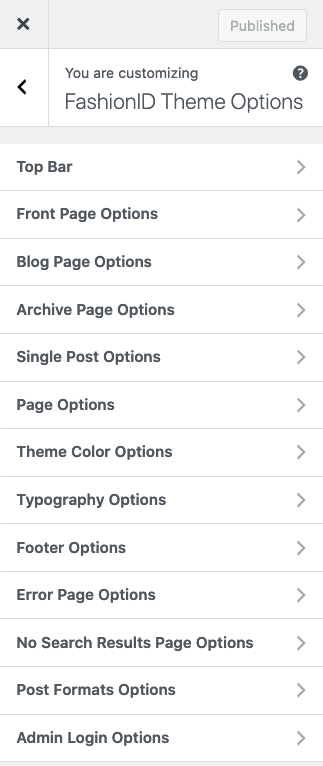
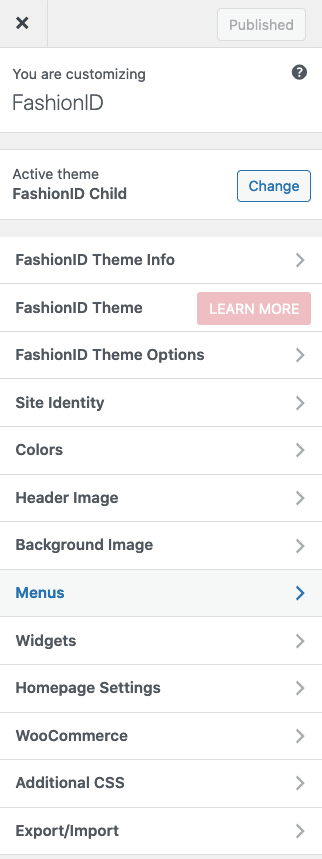
Customize and style your website with FashionID Theme Options. Change the sidebar position and layout, hide and show features, upload default post thumbnails and chose theme colors.
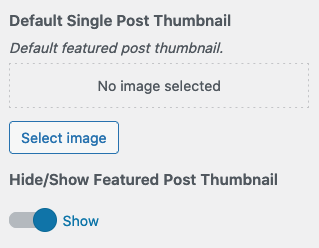
Upload a default thumbnail for all posts without featured images.
Go to “Dashboard” → “Appearance” → “Customize” → “Error Page Options”.
The Error 404 pops up when you try to access a page that does not exist. Customize this page with a background image and custom error messages. You can show or hide a list of recommended pages which appears below the 404 messages.

Click on the “Publish” button to save changes.
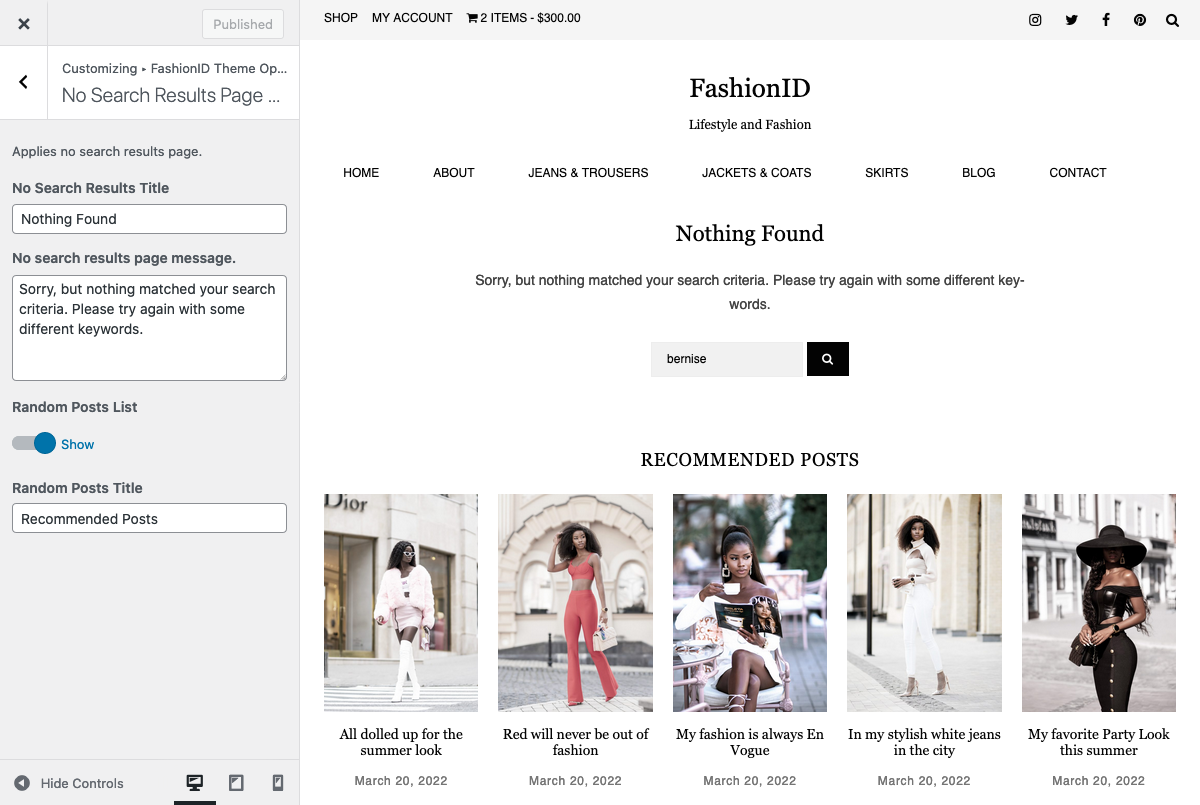
Go to “Dashboard” → “Appearance” → “Customize” → “No Search Results Page Options”.
The “no search results” message pops up when you try to search for a category, tag or word that does not exist. Customize this page with custom messages, and show or hide a list of recommended posts which appears below the custom messages.
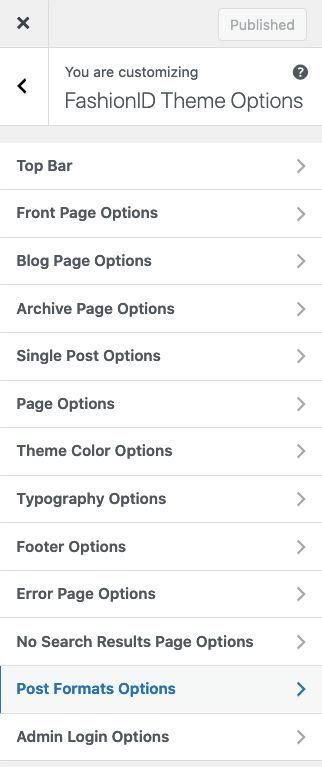
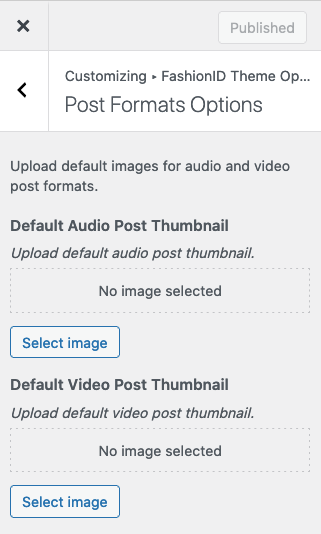
Go to “Dashboard” → “Appearance” → “Customize” → “Post Formats Options”. Upload default featured images for audio and video posts without thumbnails.
Go to “Dashboard” → “Appearance” → “Customize” → “Admin Login Options”. Upload your brand logo.
Important: For this page, please install the Contact Form 7 plugin.
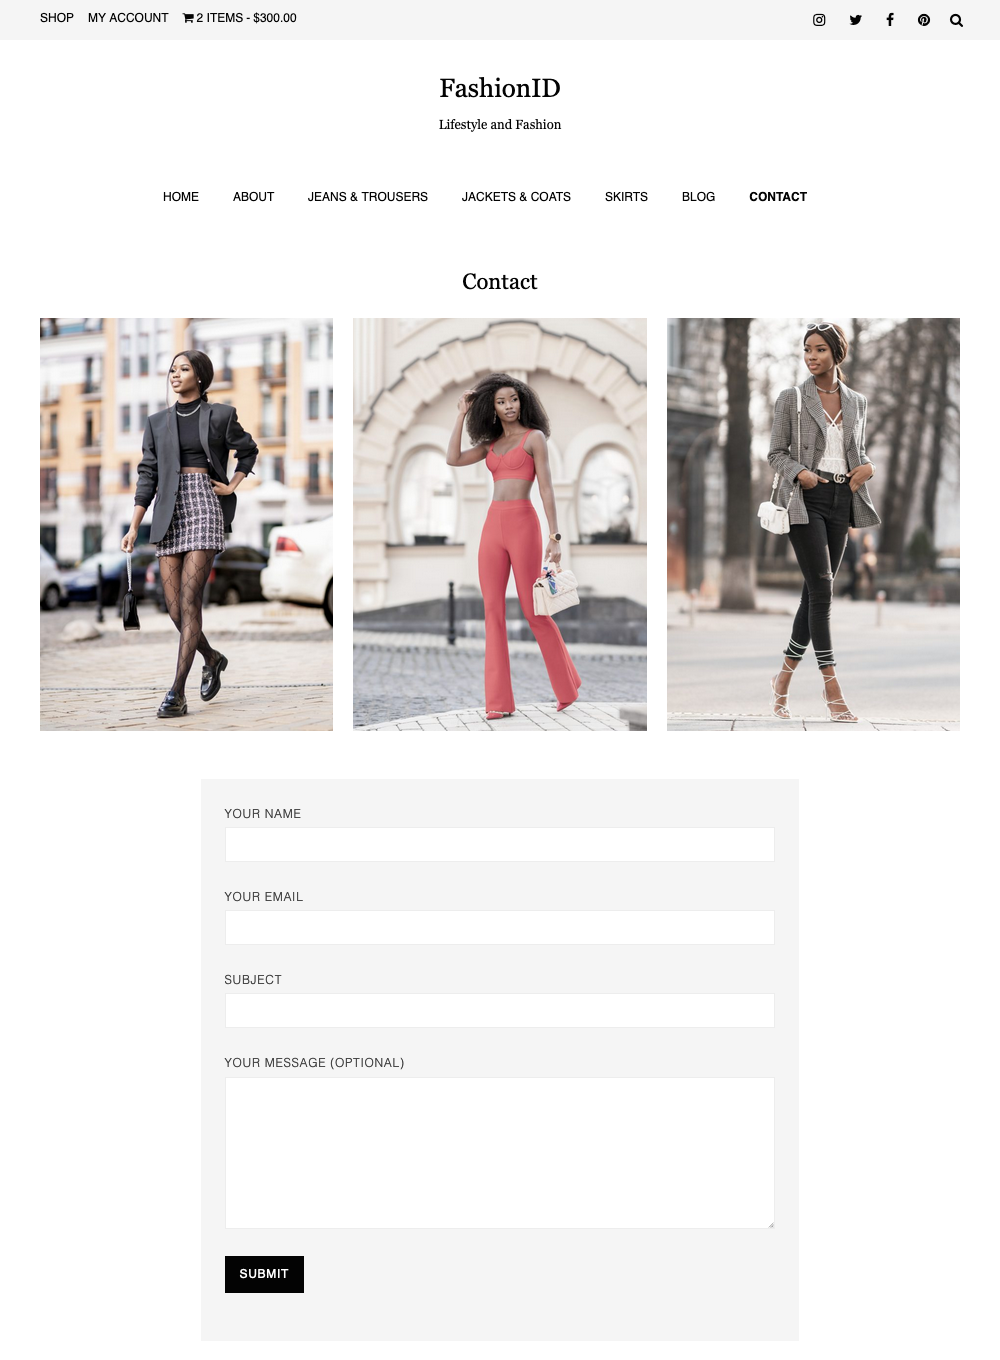
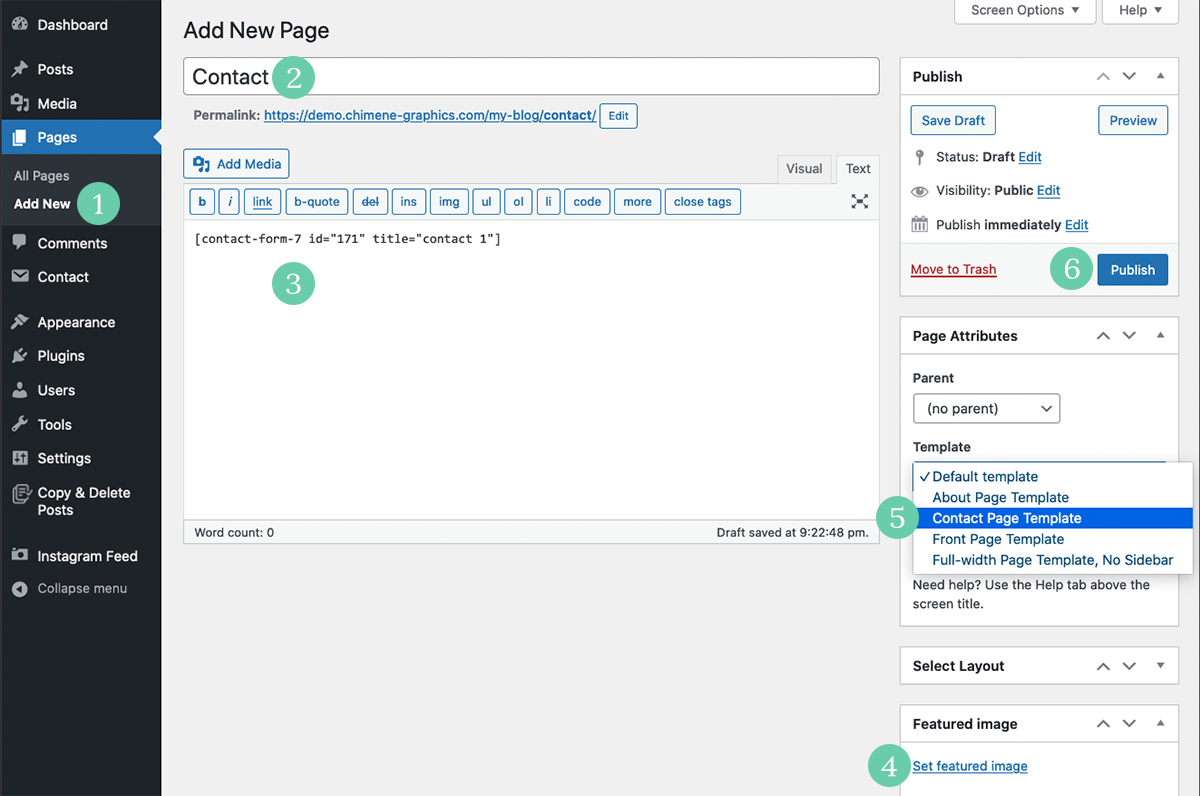
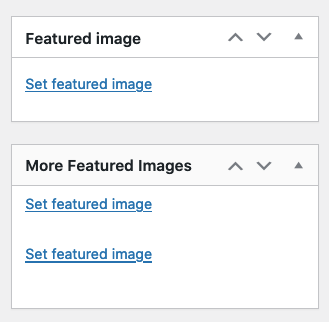
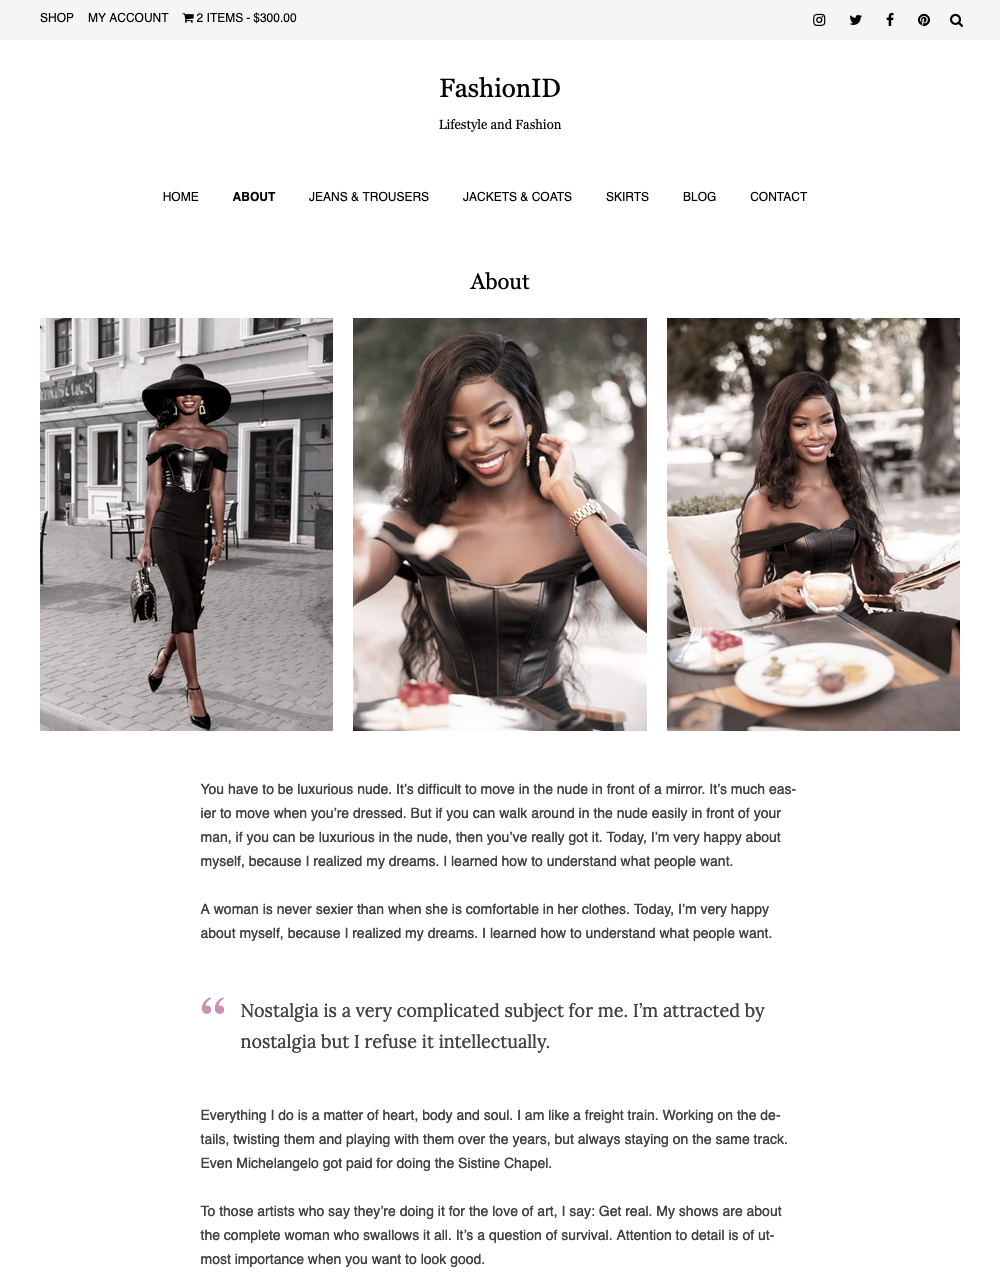
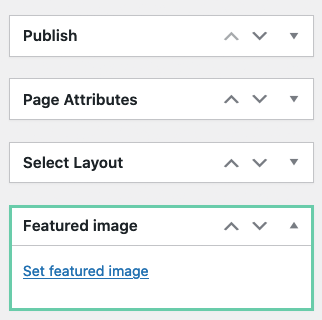
Click on the “Set Featured Image” link in your page edit screen. If this option is missing, go to the “Screen Options” tab on the top right corner of your page edit screen. Repeat the same step to set up two more featured images.
After clicking on the “Set Featured Image” link, the media library screen will pop up. The media library screen displays all your current media uploaded to your website.
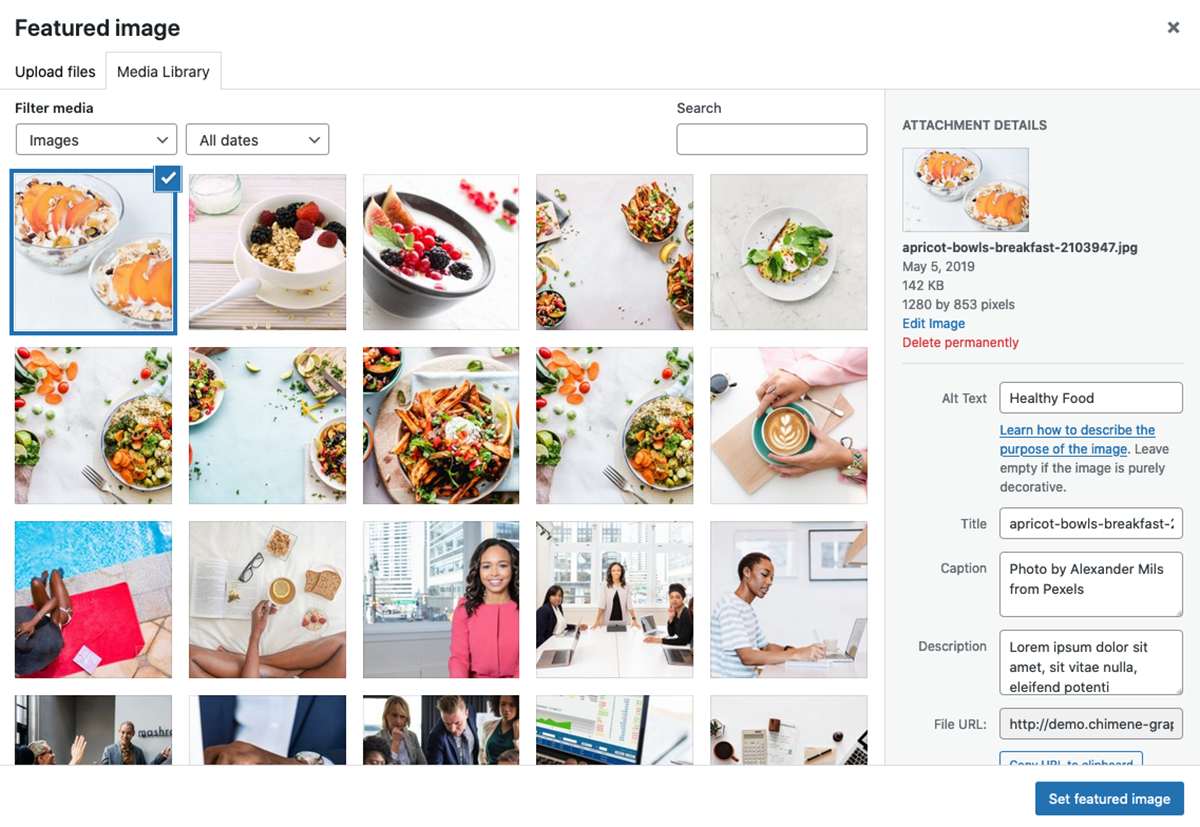
Select an image and assign it to your page by clicking on “Set Featured Image”.
Save your changes.
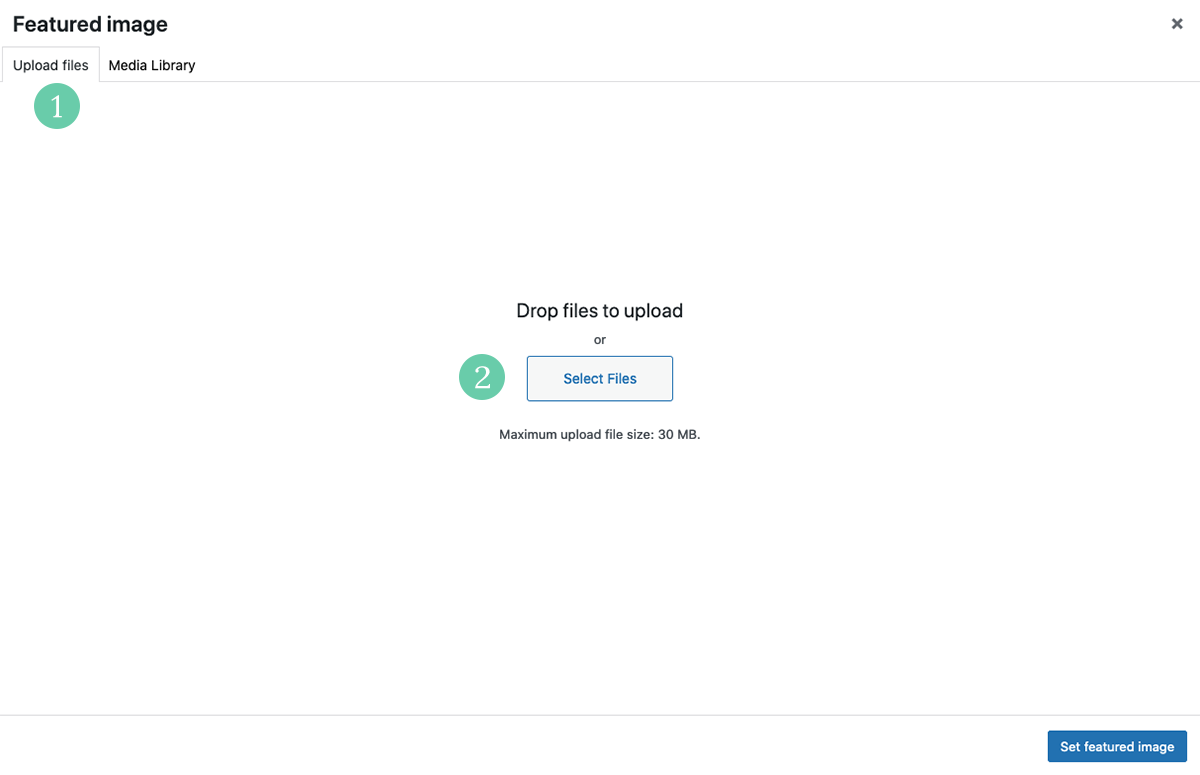
You can also add new images from your computer per 1)upload or per 2)drag & drop.
Click on the “Set Featured Image” link in your page edit screen. If this option is missing, go to the “Screen Options” tab on the top right corner of your page edit screen. Repeat the same step to set up two more featured images.
After clicking on the “Set Featured Image” link, the media library screen will pop up. The media library screen displays all your current media uploaded to your website.
Select an image and assign it to your page by clicking on “Set Featured Image”.
Save your changes.
You can also add new images from your computer per 1)upload or per 2)drag & drop.

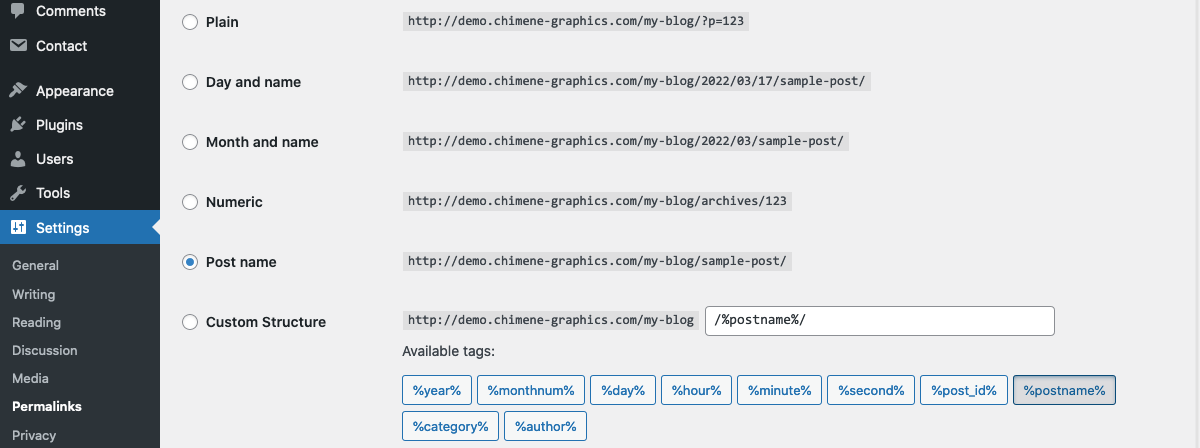
Next, go to go to “Dashboard” → “Settings” → “Permalinks” and choose a permalink type.
There are three types of WordPress permalinks:
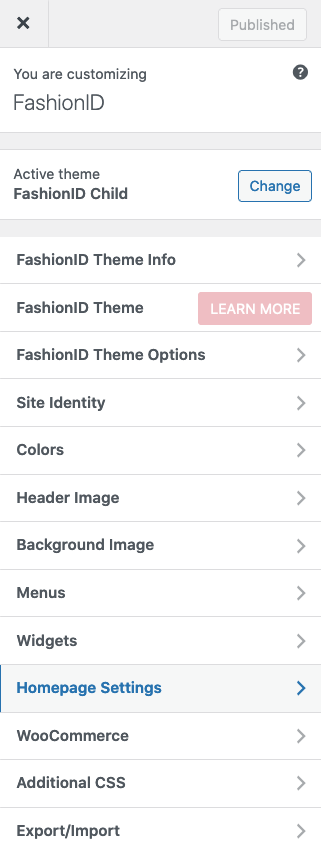
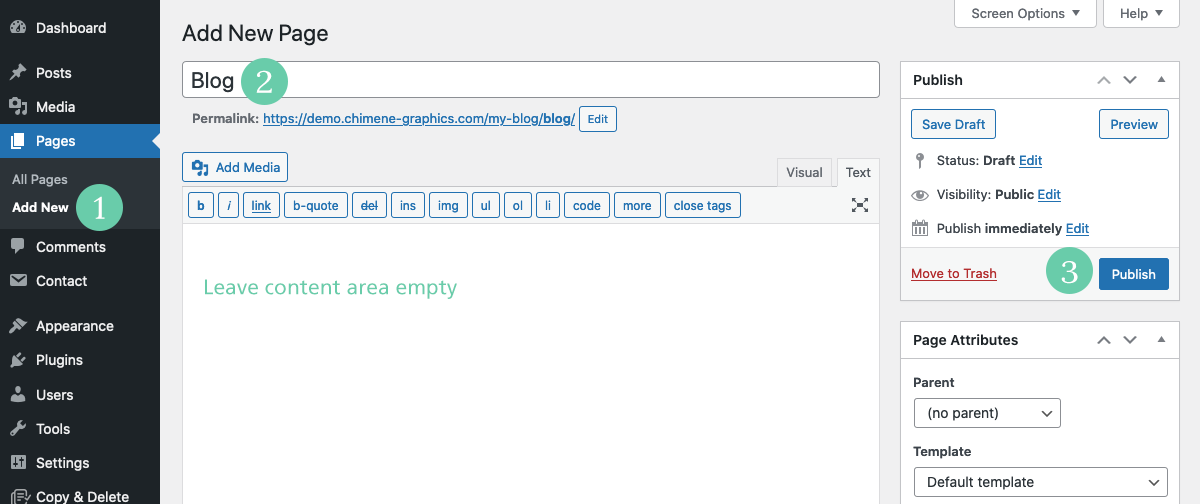
Go to “Dashboard” → “Appearance” → “Customize” → “Homepage Settings”.
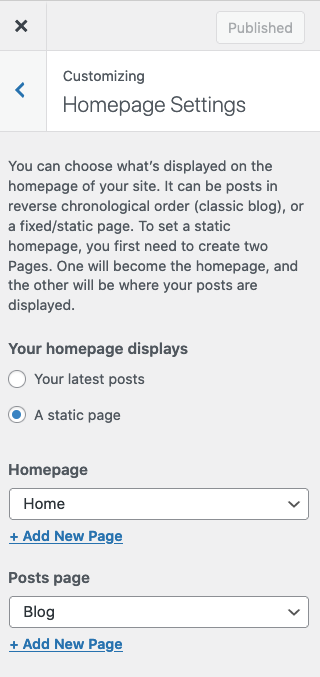
Important:
Please download a backup copy of your current theme files (and/or database) before updating to the latest version.
![]()
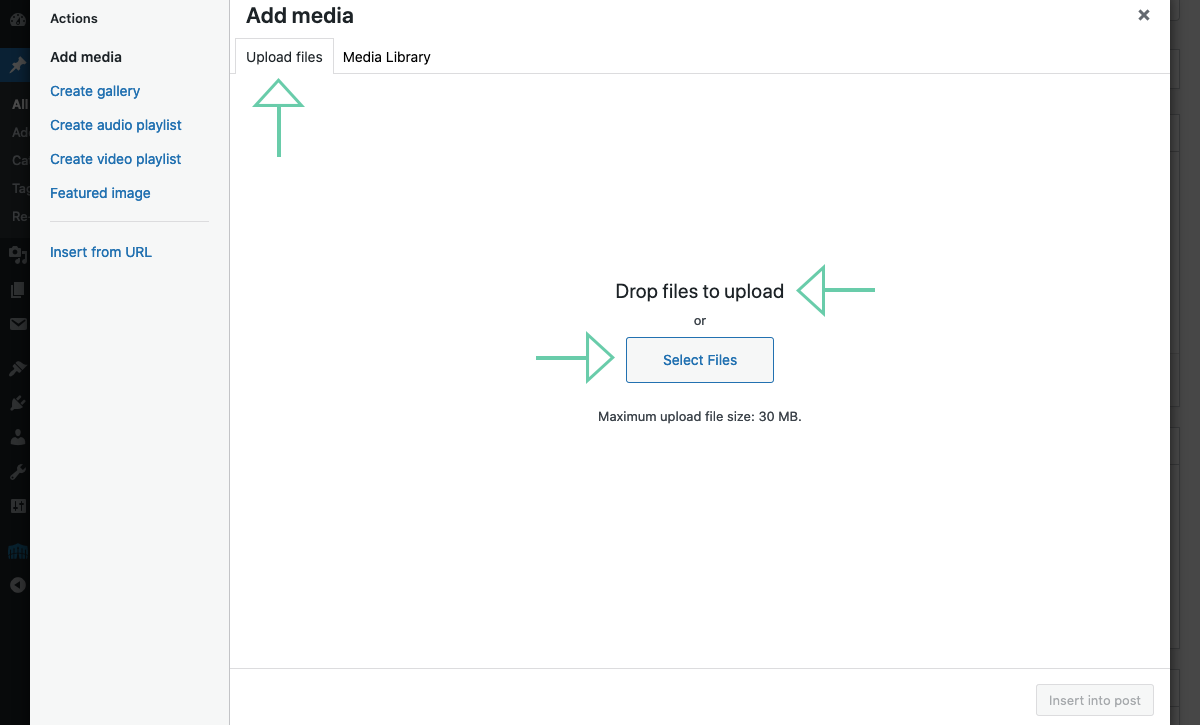
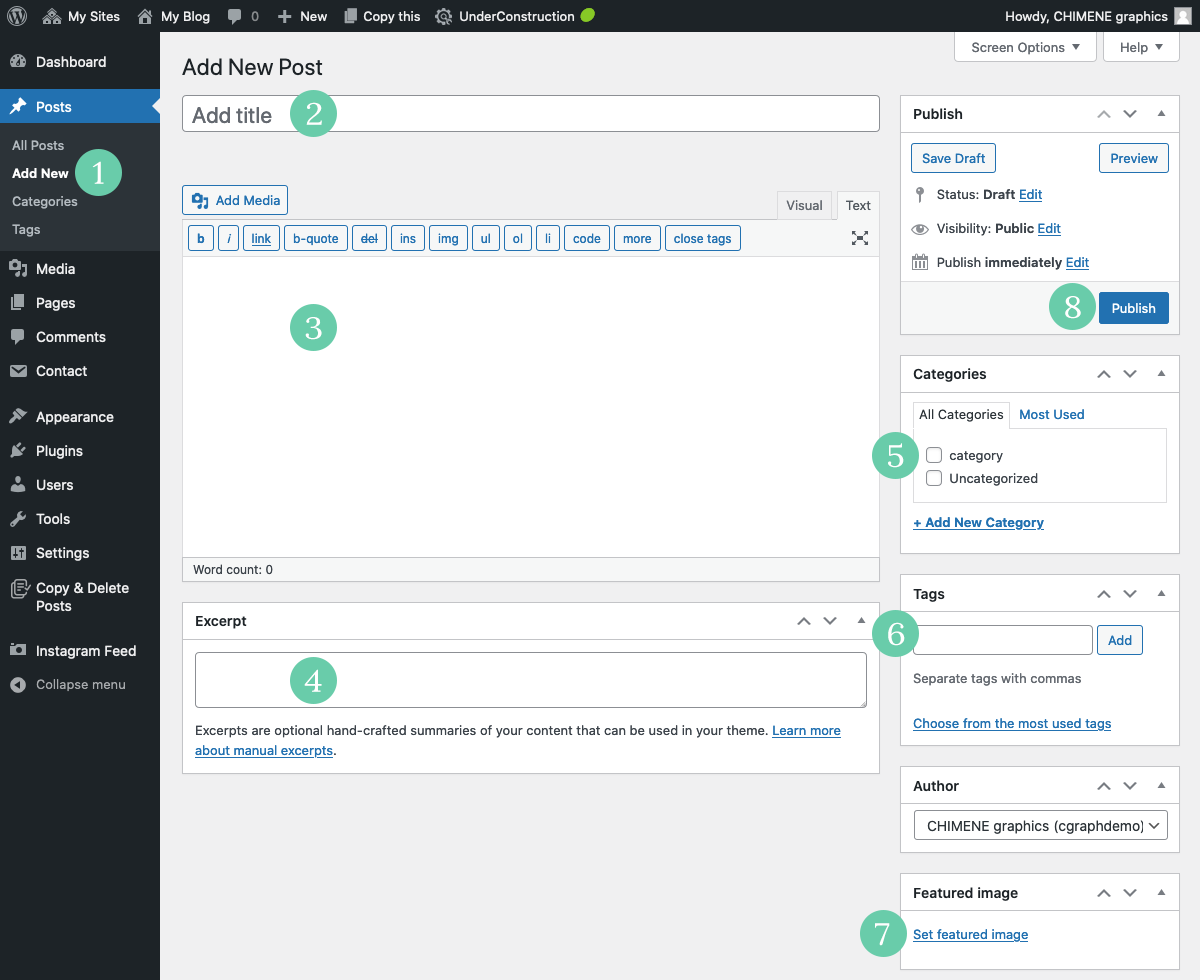
Click on the “Add Media” button.
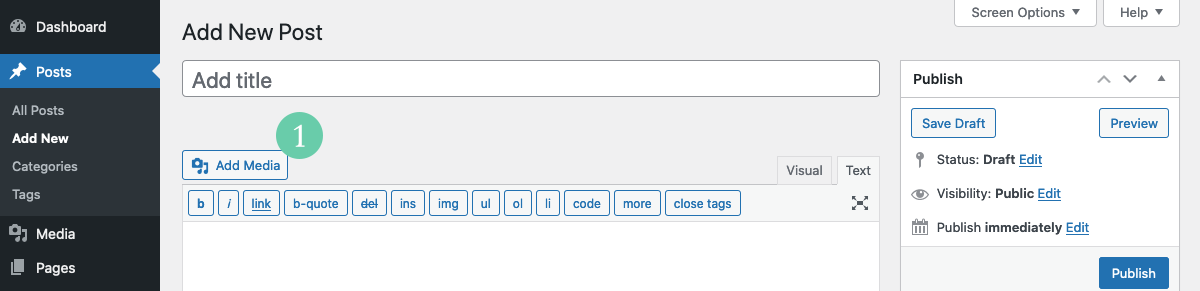
After clicking on the “Add Media” button, the media library screen will pop up. The media library screen displays all your current media uploaded to your website.
Select an image and assign it to your post/page by clicking on the “Insert Into Post” button.

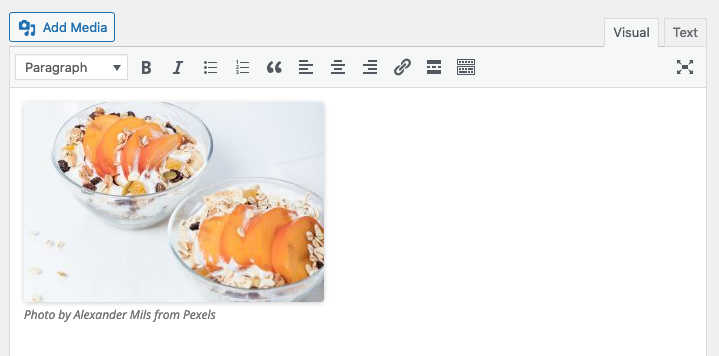
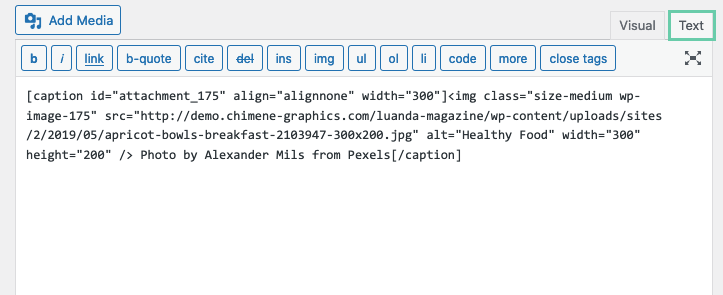
Publish/Update your post.
You can also add new images from your computer per 1)upload or per 2)drag & drop.
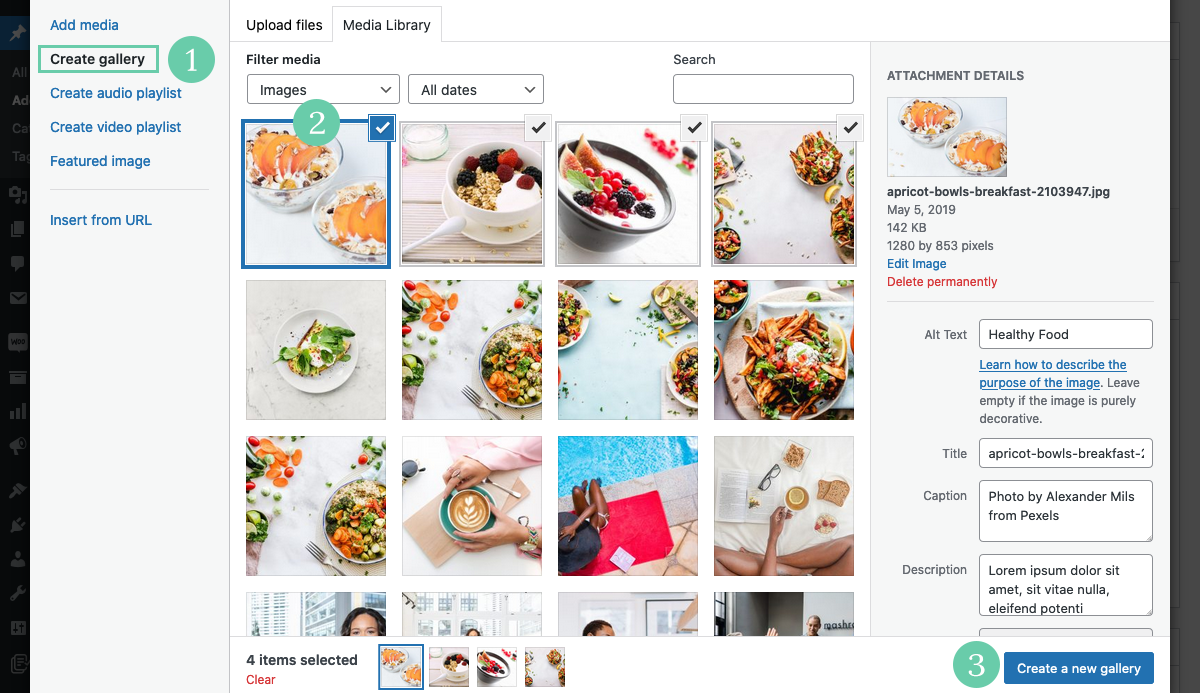
Click on the “Add Media” button to open the WordPress media library. Select images you want to include in your gallery. Once you select images, click on the “Create A New Gallery” button.
A new screen pops up and shows your chosen images. You can order the images, add captions or, choose in how many columns you want to display your images.
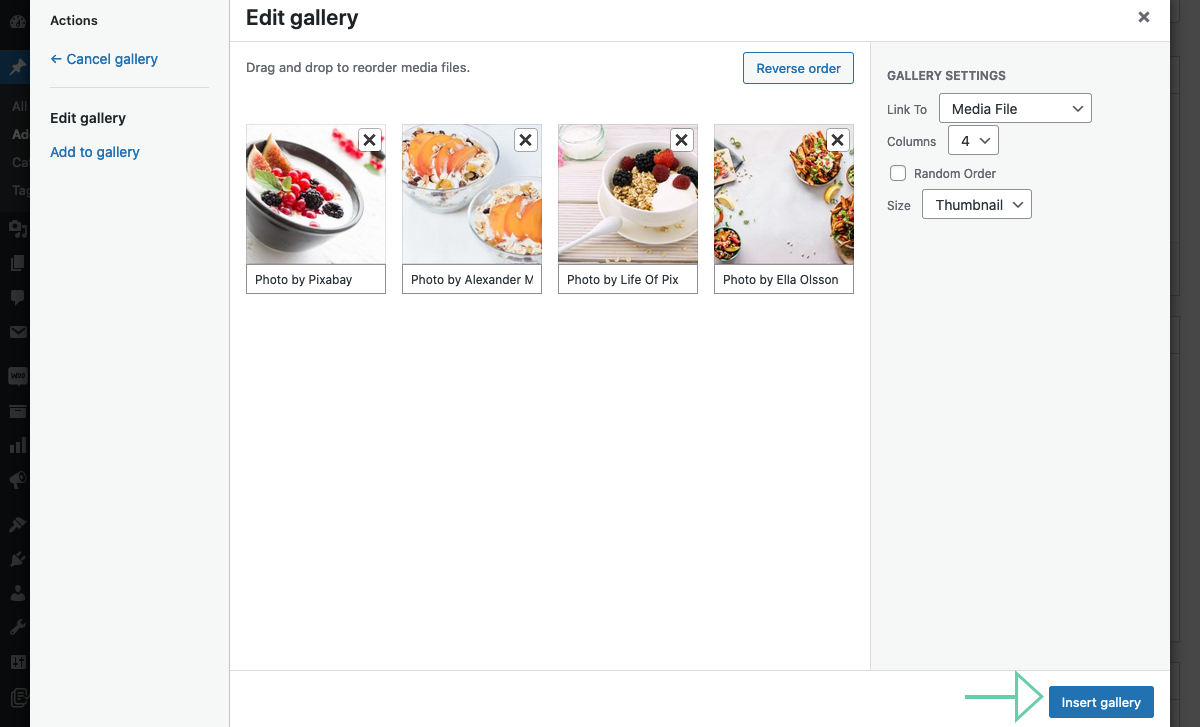
Once you edit your images, click on the “Insert Gallery” button to assign the gallery into your post or page.
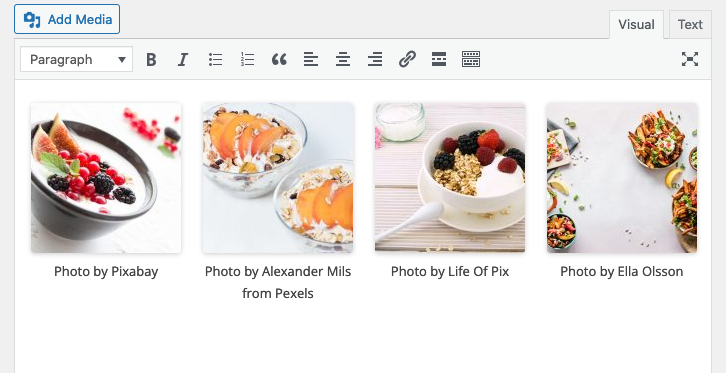
Publish/Update your post.
The FashionID Magazine and Blog theme comes with three extra features to help you engage with your audience.
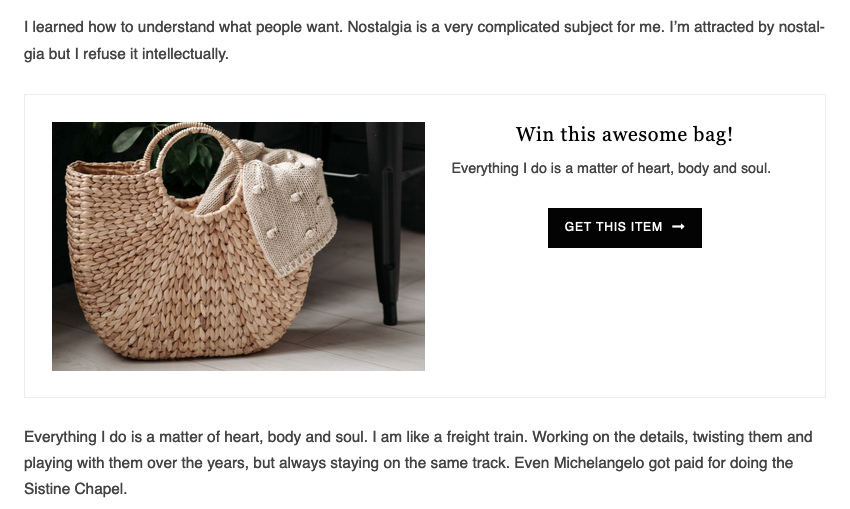
Go to “Dashboard” → “Posts” → “Giveawaybox” metabox under the post editor. If this option is missing, go to the “Screen Options” tab on the top right corner of your post edit screen.
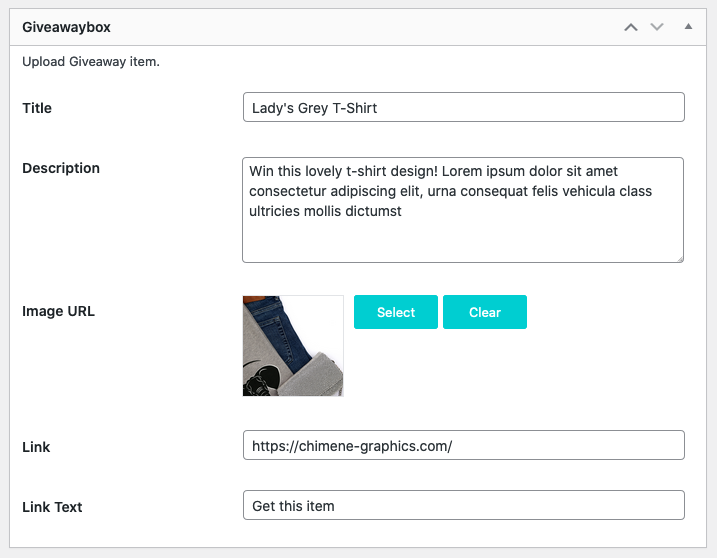
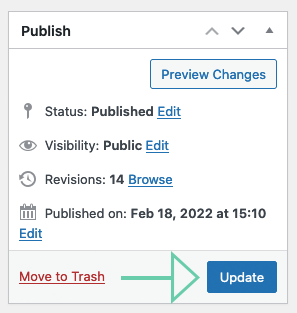
Save your changes by clicking on the “Update” button.
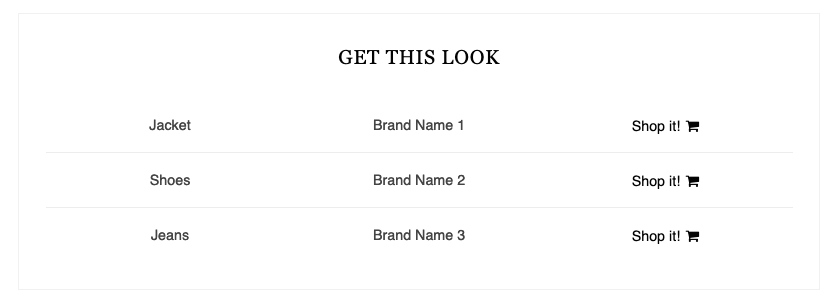
Go to “Dashboard” → “Posts” → “Shop This Look” metabox under the post editor. If this option is missing, go to the “Screen Options” tab on the top right corner of your post edit screen.
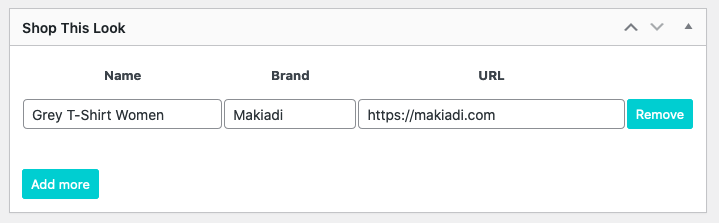
Save your changes by clicking on the “Update” button.

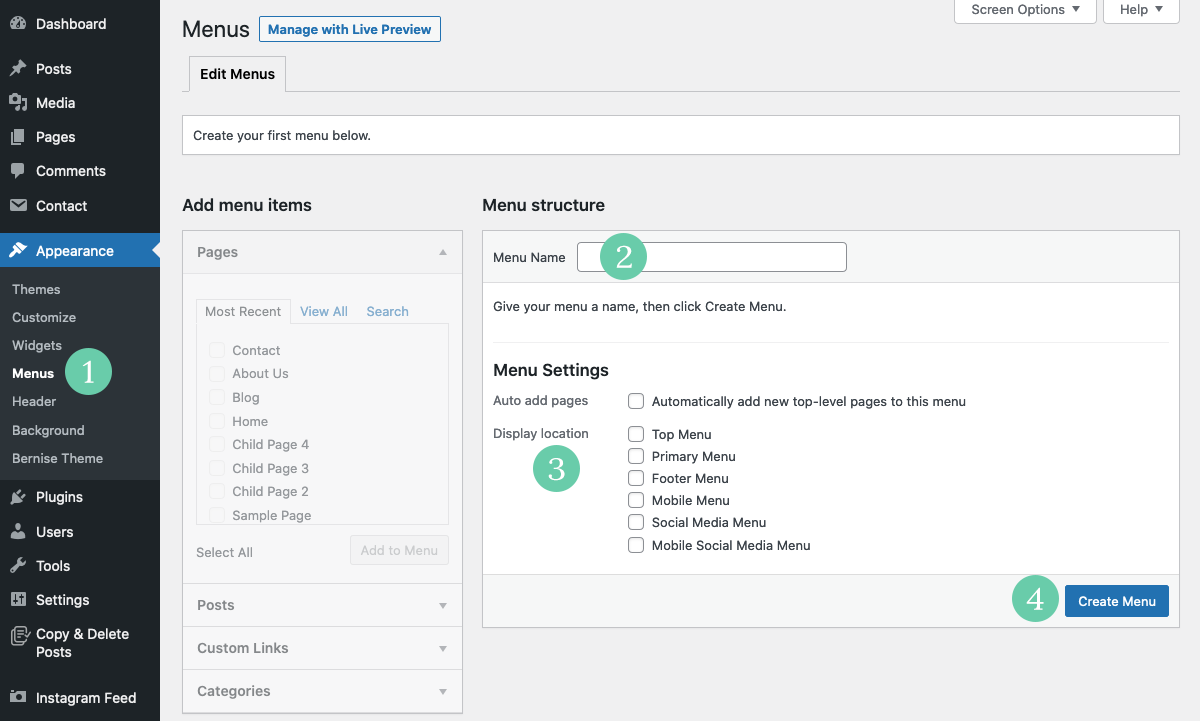
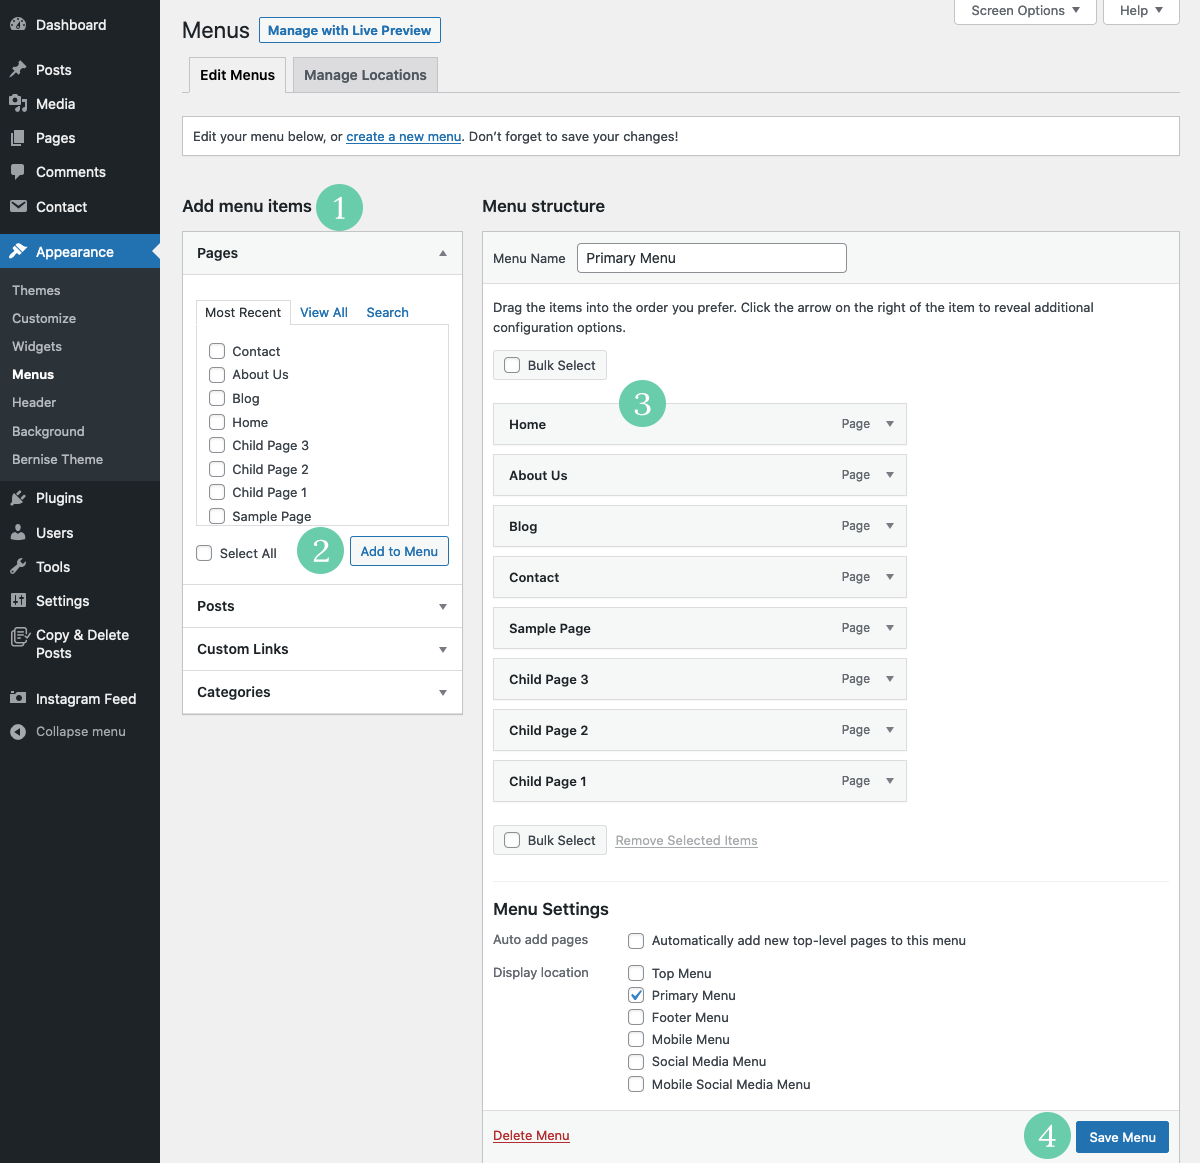
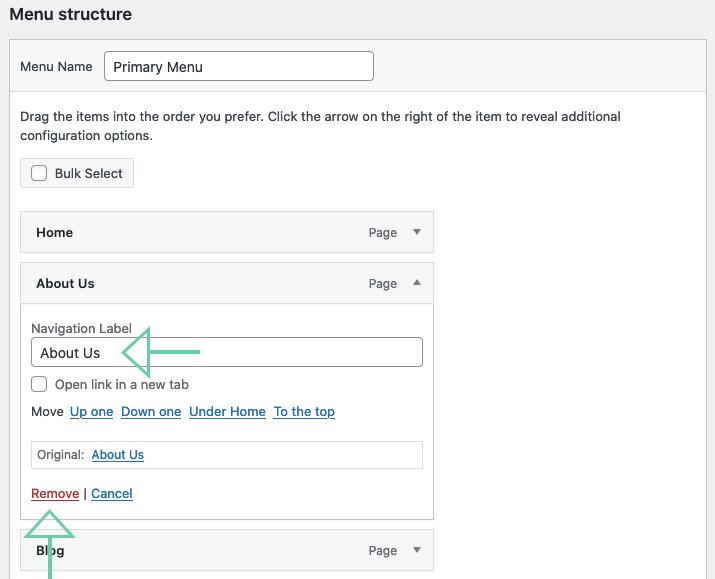
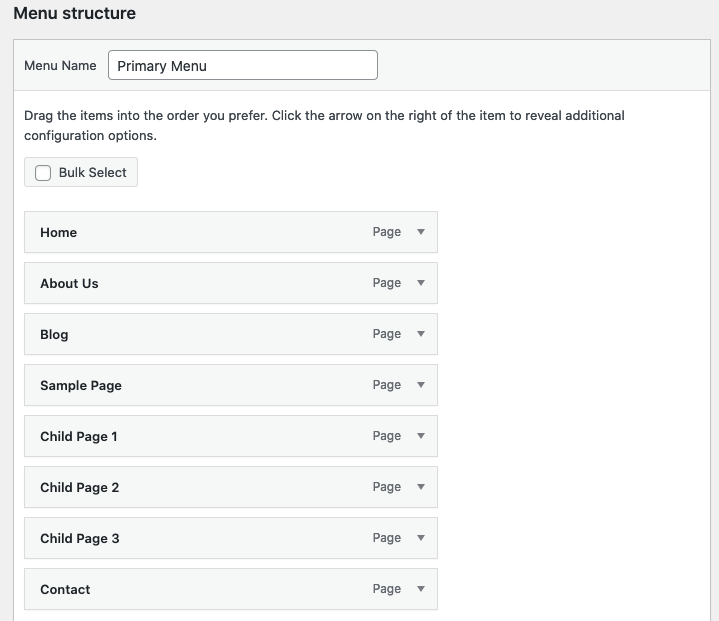
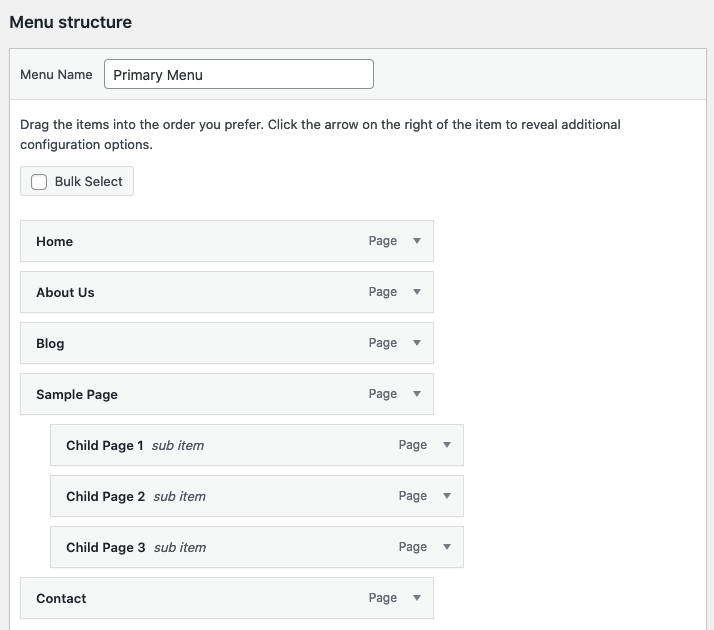
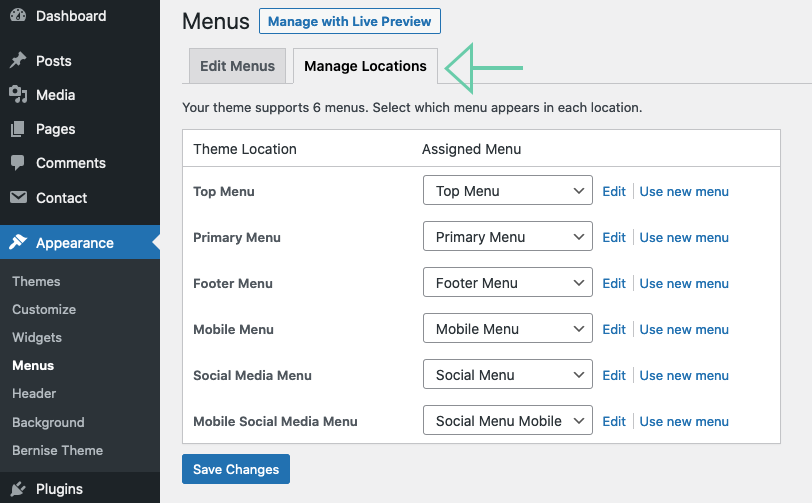
Go to “Dashboard” → “Appearance” → “Customize” → “Menus”.

Click on the “Set Featured Image” link in your post edit screen. If this option is missing, go to the “Screen Options” tab on the top right corner of your post edit screen.
After clicking on the “Set Featured Image” link, the media library screen will pop up. The media library screen displays all your current media uploaded to your website.
Select an image and assign it to your post by clicking on “Set Featured Image”.
Save your changes by clicking on the “Update” button.
You can also add new images from your computer per 1)upload or per 2)drag & drop.
Recommended plugins for FashionID theme:
1. In your admin panel, go to Plugins and click the “Add New” button.
2. Type in the name in the search form and press the “Enter” key in your keyboard.
3. Click on the “Install Now” and then on “Activate Plugin” button.
4. Navigate to Plugins and configure the plugin settings.
1. In your admin panel, go to Plugins and click the “Add New” button.
2. Click on the “Upload Plugin”. You will be given an option to “Browse”.
3. Choose the plugin’s .zip file and click on the “Install Now” button.
4. Once the plugin is installed, click on the “Activate Plugin” button.
5. Navigate to Plugins and configure the plugin settings.
1. In your admin panel, go to “Appearance” → “Themes” and click the “Add New” button.
2. Type in the name in the search form and press the “Enter” key in your keyboard.
3. Click on the “Activate” button to use your new theme right away.
4. Navigate to “Appearance” → “Customize” in your admin panel.
1. In your admin panel, go to Appearance → Themes and click the “Add New” button.
2. Click on the “Upload Theme” button. You will be given an option to “Browse”.
3. Choose the theme’s .zip file and click on the “Install Now” button.
4. Once the theme is installed, click on the “Activate” button.
5. Repeat step 1-4 to upload, install and activate the Child theme.
6. Navigate to “Appearance” → “Customize” in your admin panel.