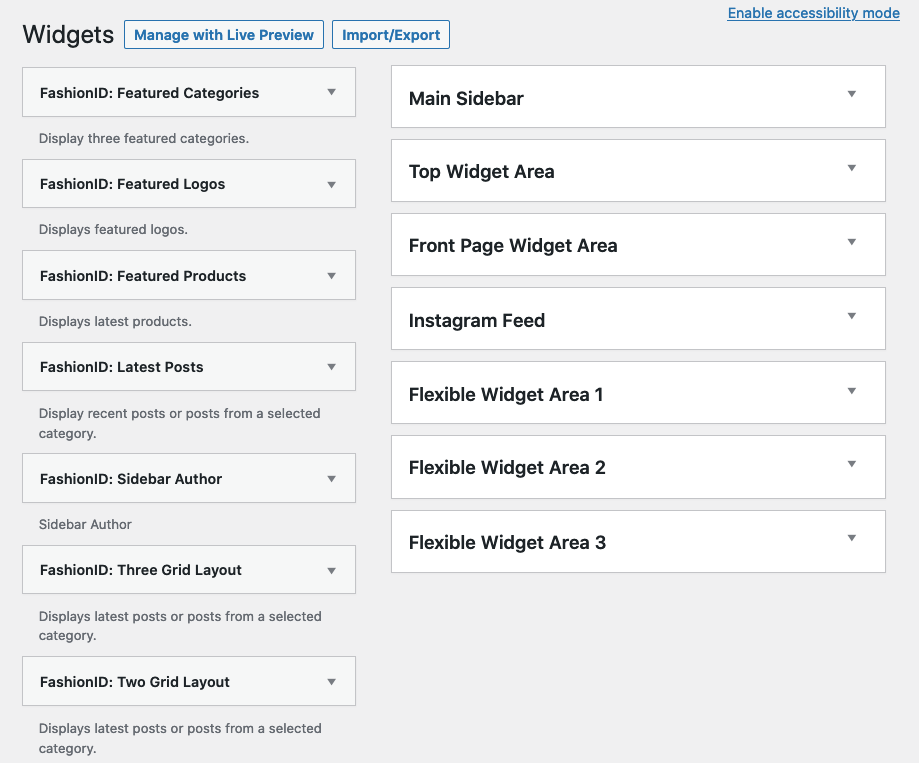
FashionID comes with the following sidebars and widgets:
Sidebars
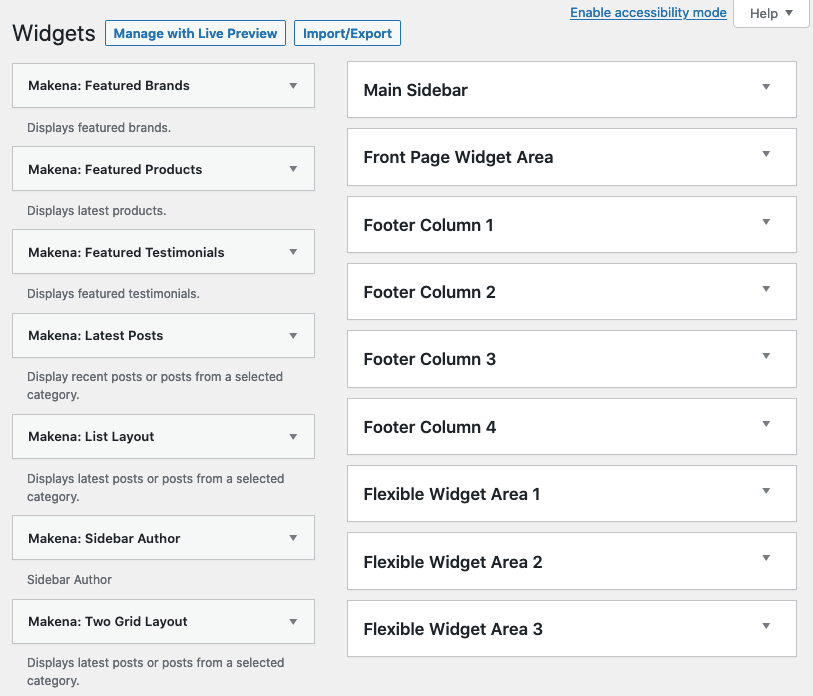
- Main Sidebar
- Top Widget Are
- Front Page Widget Area
- Instagram Feed
- Flexible Widget Area 1
- Flexible Widget Area 2
- Flexible Widget Area 3
Widgets
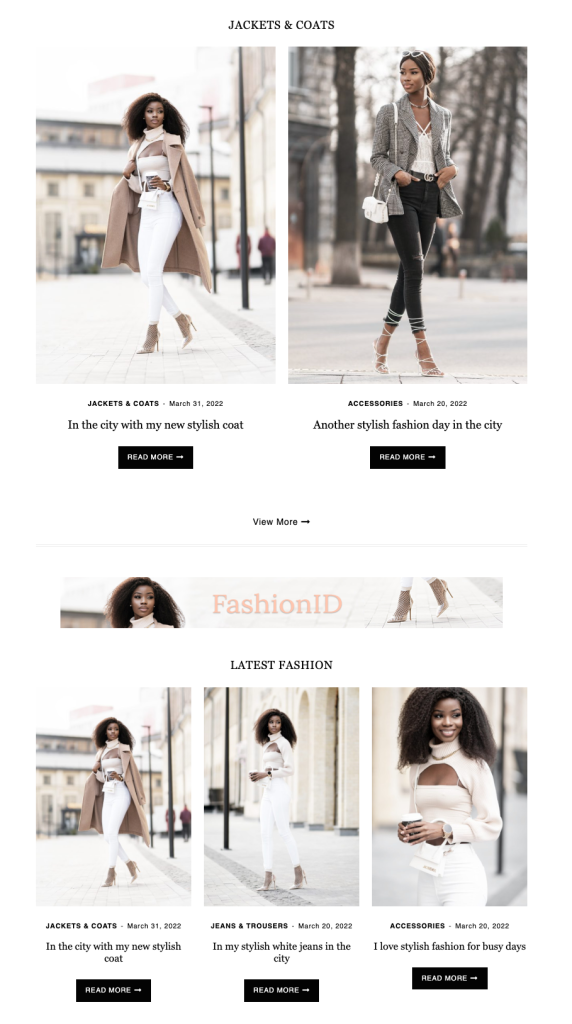
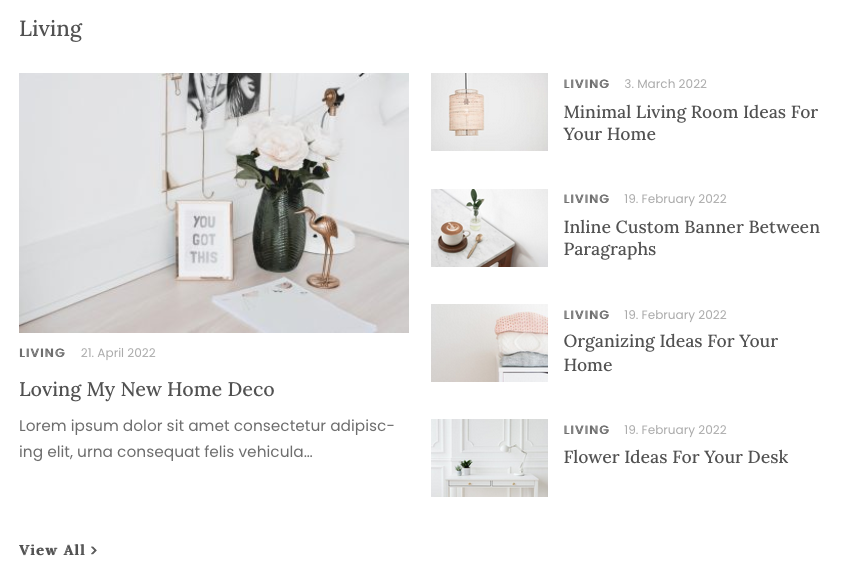
- FashionID: Two Grid Layout
- FashionID: Three Grid Layout
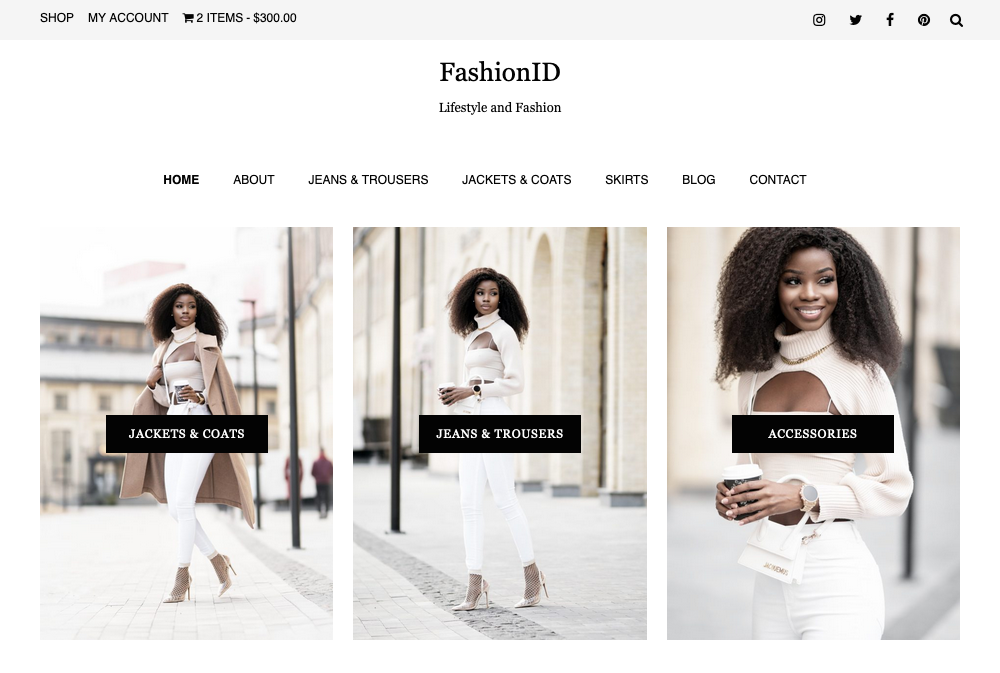
- FashionID: Featured Categories
- FashionID: Featured Logos
- FashionID: Featured Products
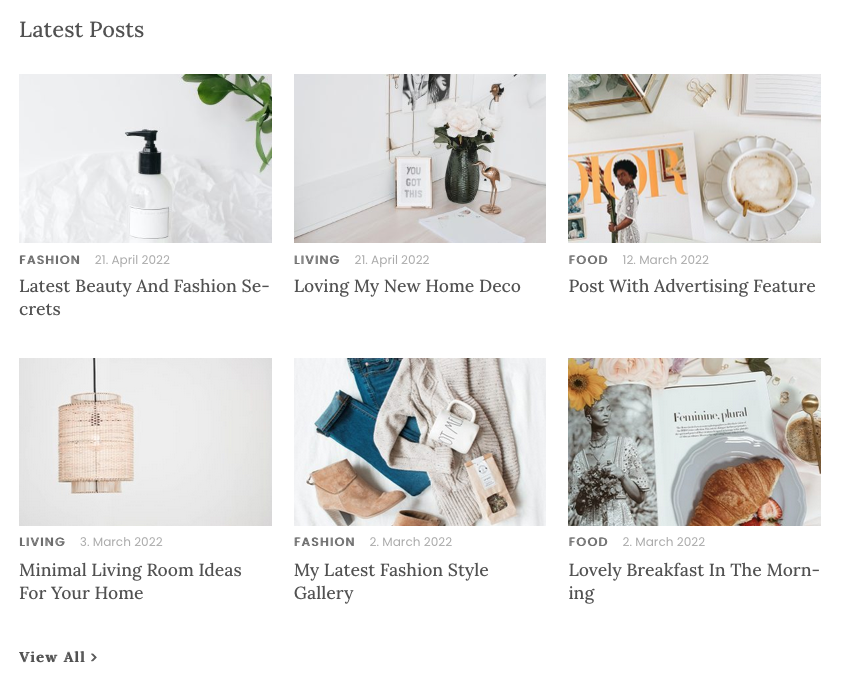
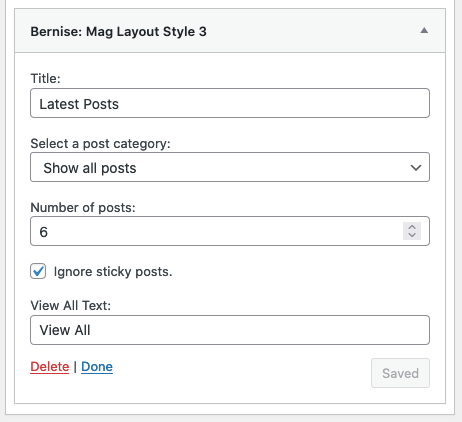
- FashionID: Latest Posts
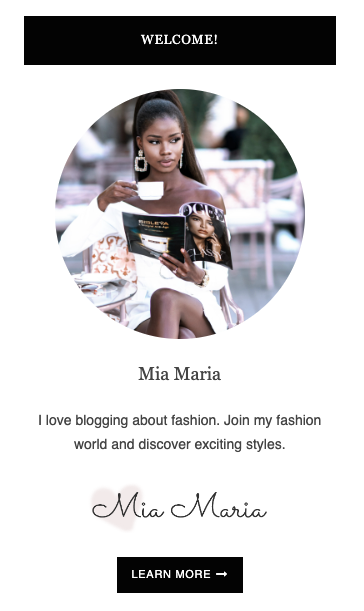
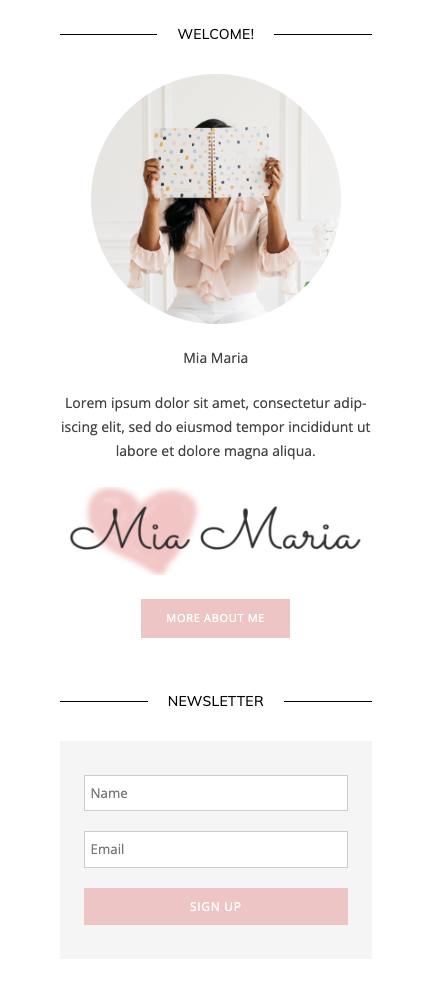
- FashionID: Sidebar Author
Set Up Sidebars & Widgets
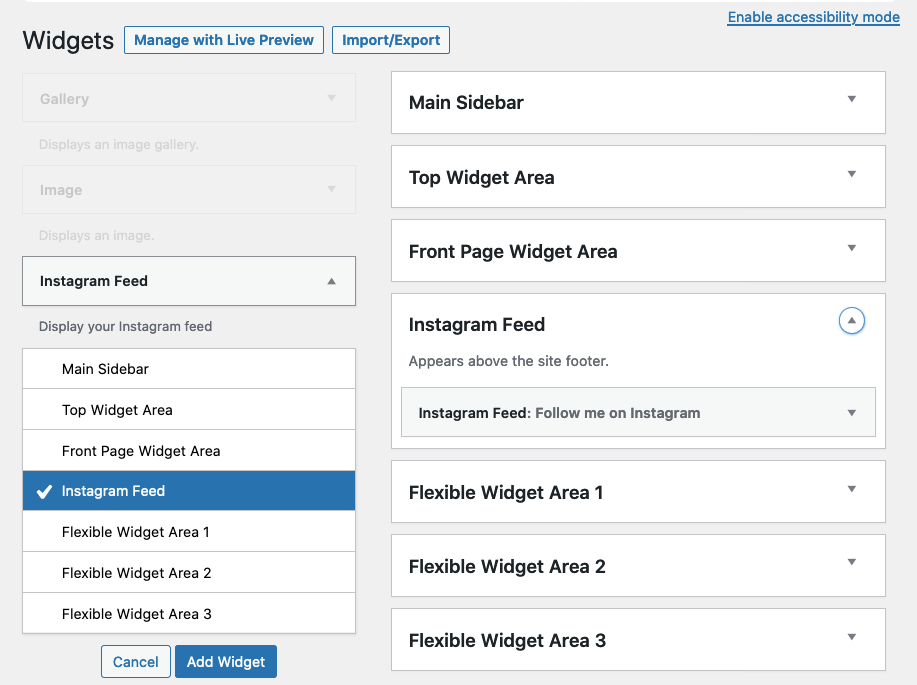
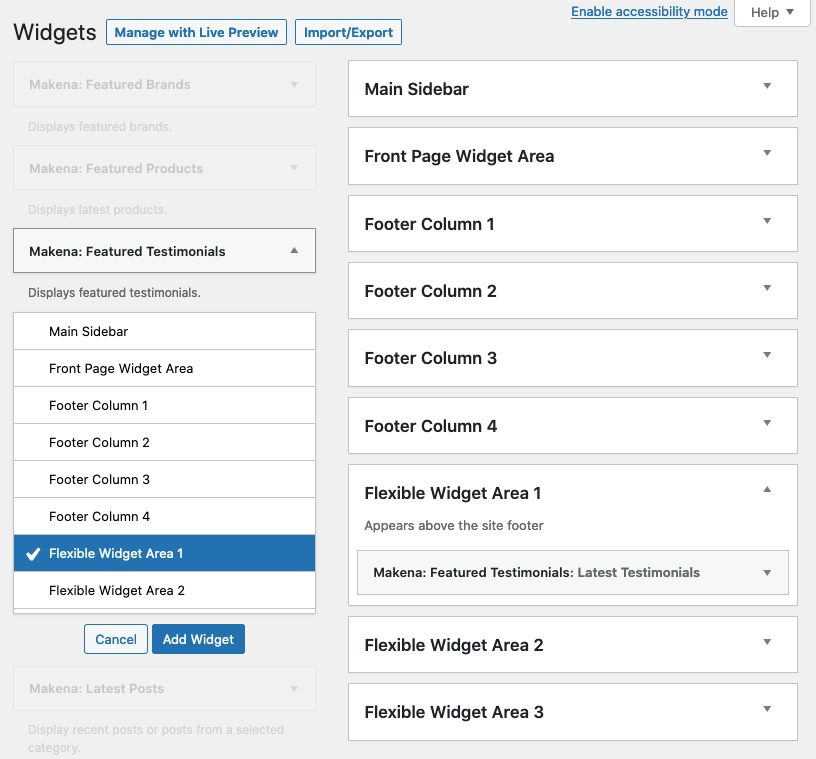
Go to “Dashboard” → “Appearance” → “Widgets”.
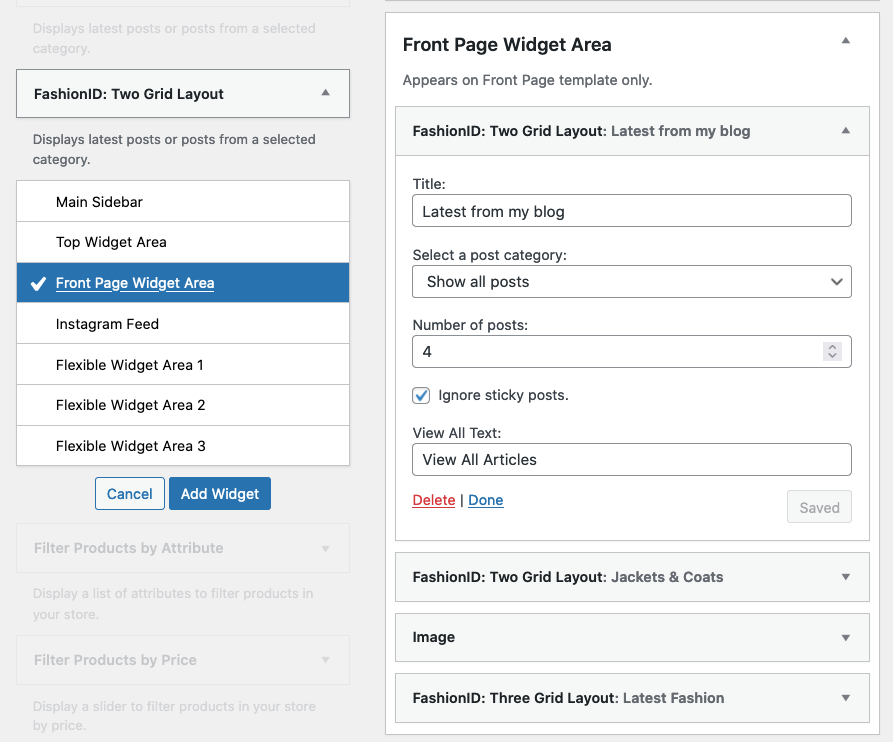
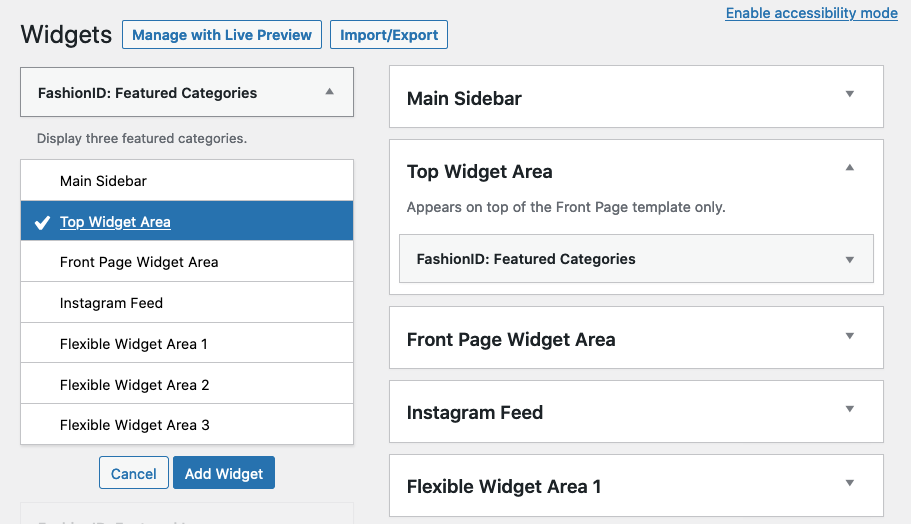
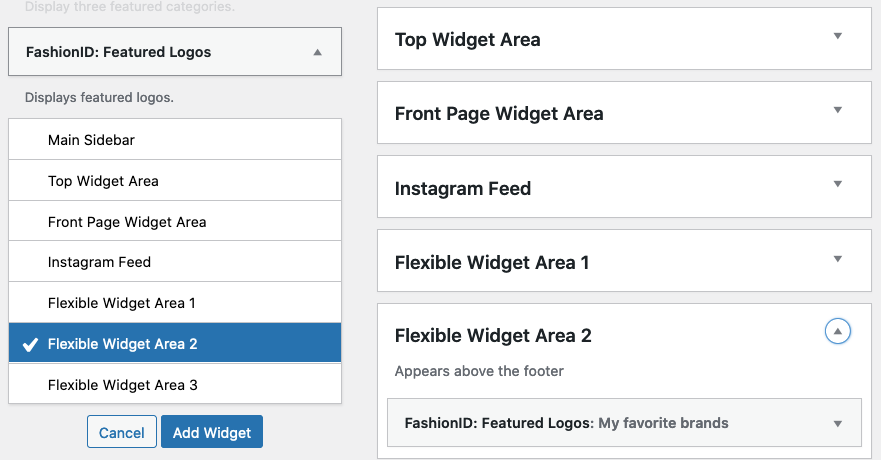
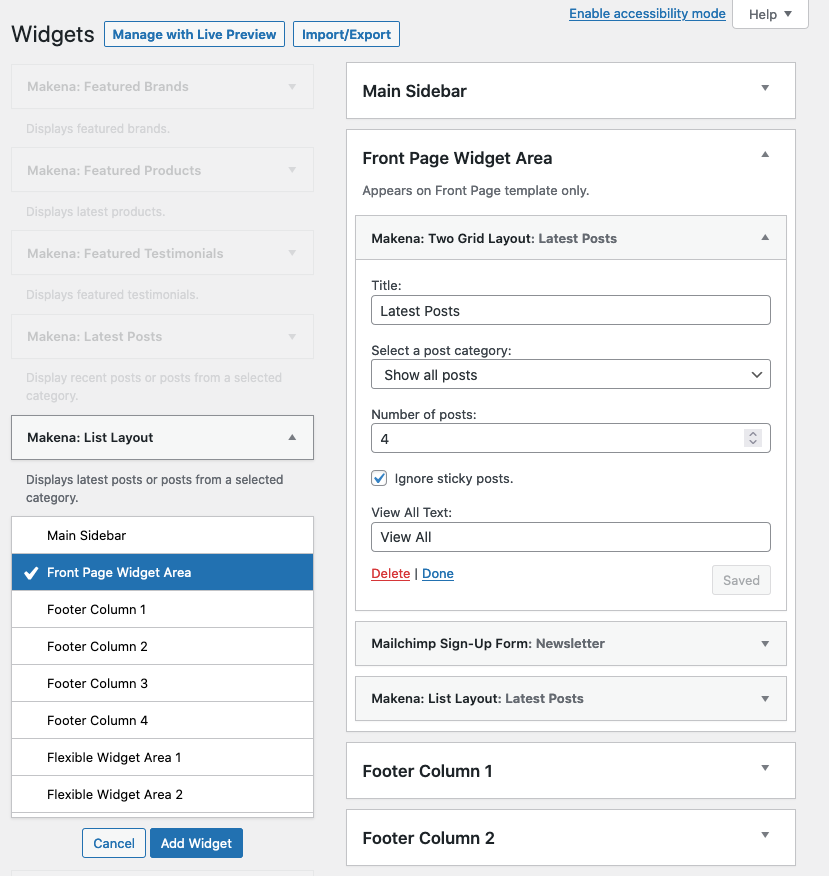
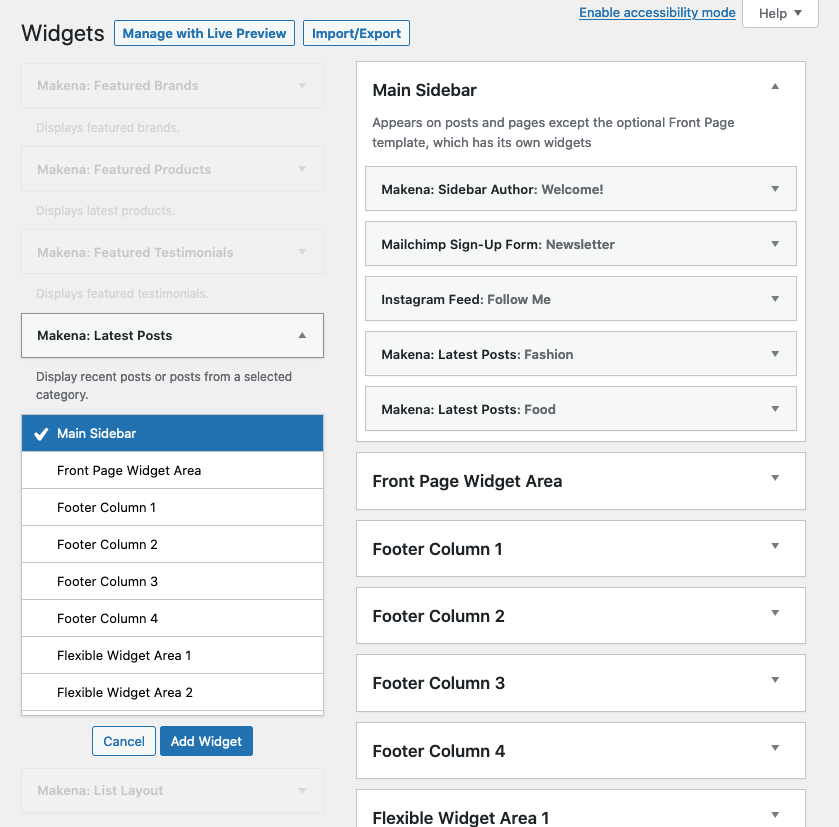
Click on a widget and select the sidebar you want to place it. You can also click on the widget and drag it to the sidebar.
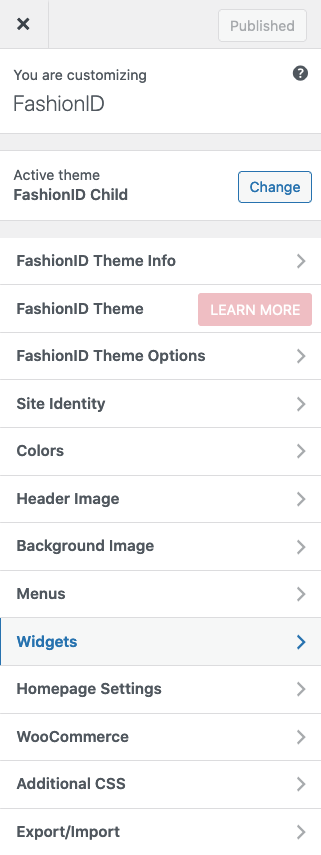
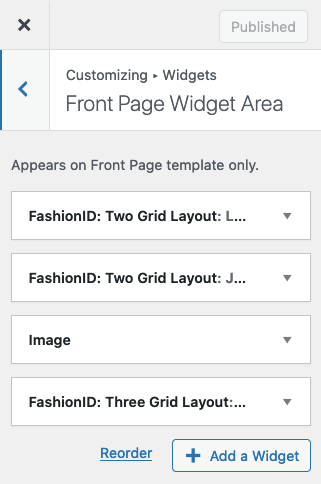
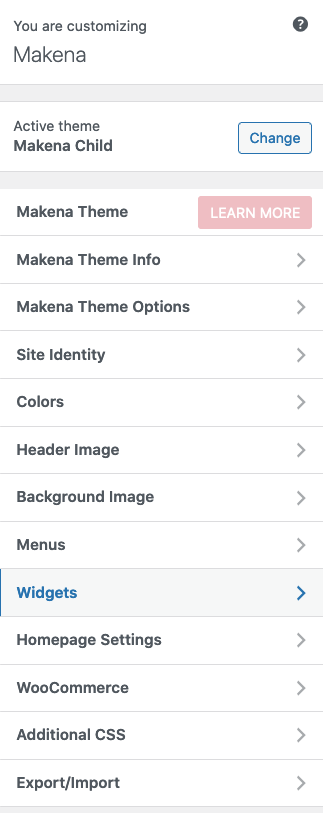
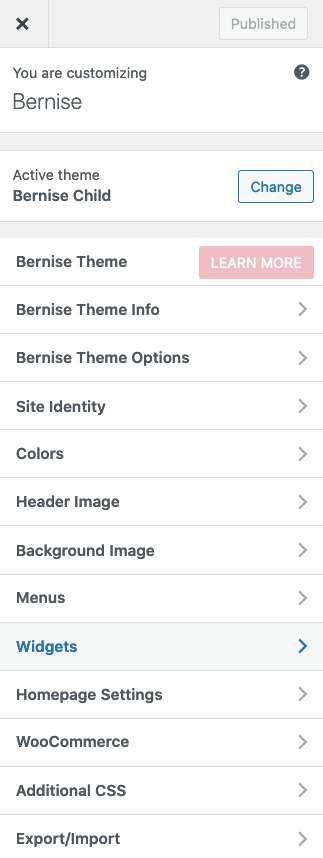
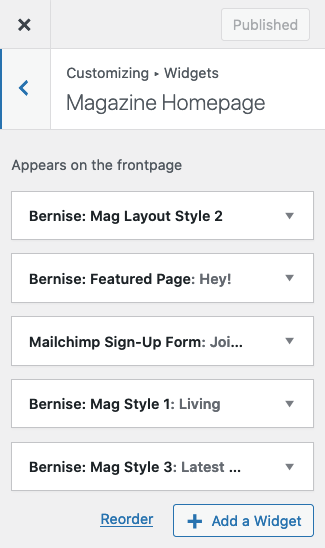
Another option for adding a widget to your sidebar is by clicking on “Dashboard” → “Appearance” → “Customize”.
Front Page Widget Area
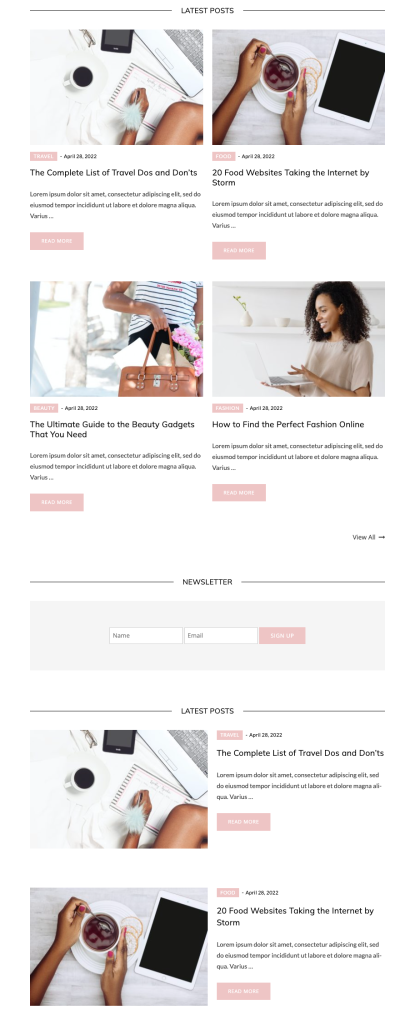
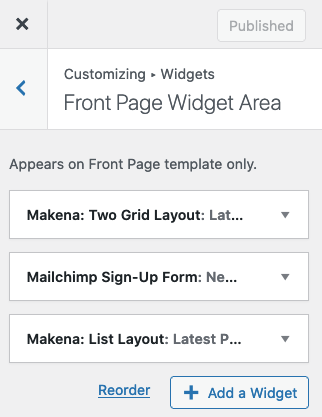
The “Front Page Widget Area” sidebar appears on the front page. Create a “Home” page and select Front Page Template on the Page Attributes meta box. Then, add widgets to the “Front Page Widget Area”.
Top Widget Area
Add “FashionID: Featured Categories” to the “Top Widget Area” sidebar.
Flexible Widget Area 1, 2 & 3
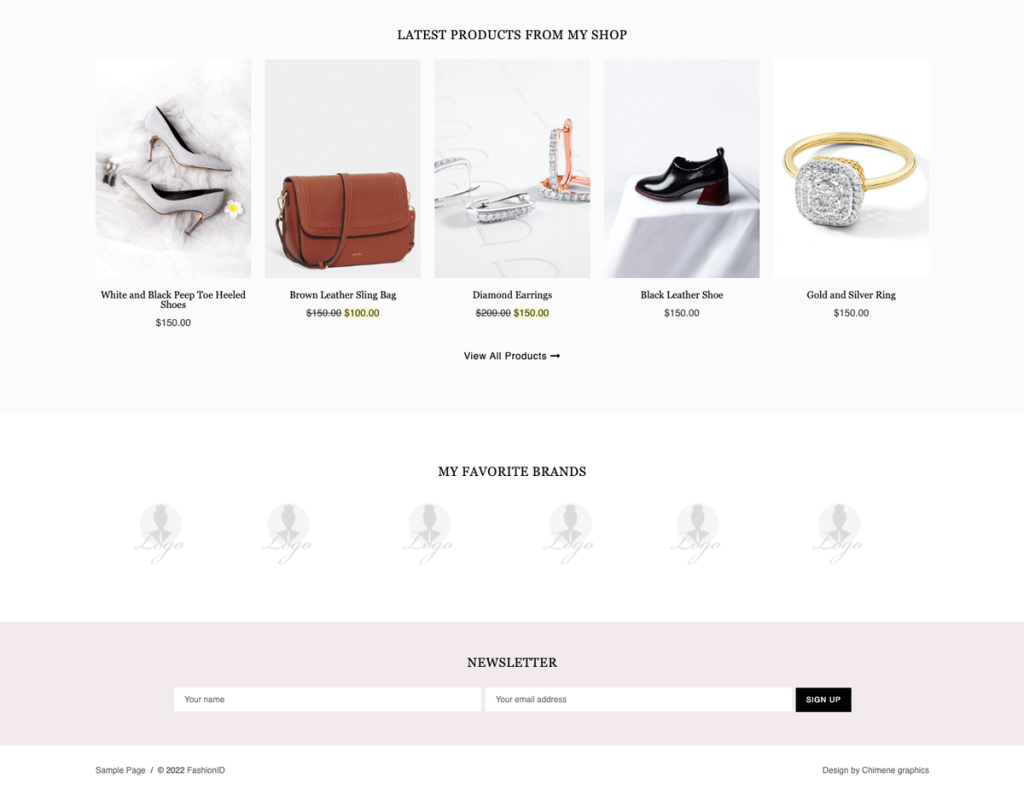
Add “FashionID: Featured Products”, “FashionID: Featured Logos”, MailChimp Newsletter etc. to this sidebar.
Main Sidebar
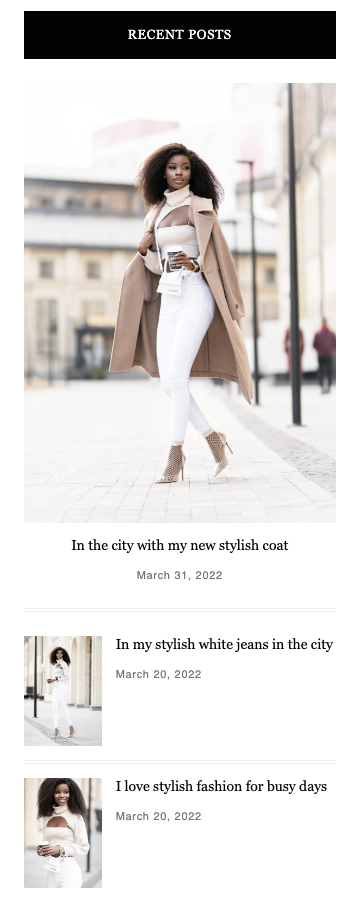
Add “Latest Posts”, “Sidebar Author”, MailChimp Newsletter, Categories, Archives etc. to the Main Sidebar.
Instagram Feed
Install the Smash Balloon plugin to use this feature.
Add “Instagram Feed” widget to the Instagram Feed sidebar.
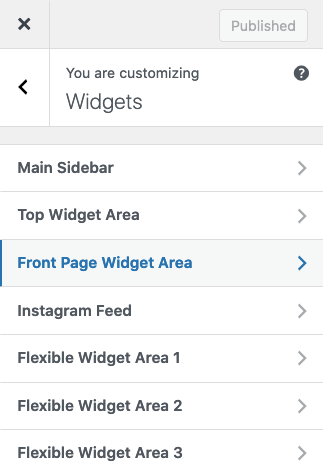
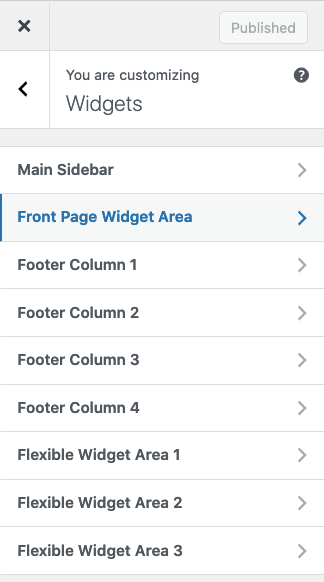
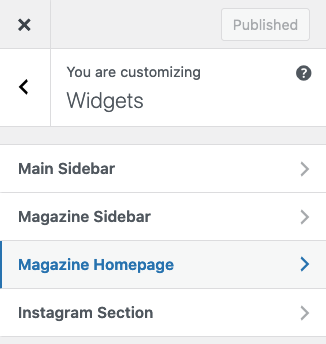
Customize Widgets via WordPress Theme Customizer
Go to “Dashboard” → “Appearance” → “Customize” → “Widgets”.
